
 AuKing H10 Wifi and Bluetooth Smart Projector
Safety Instructions
- Use only the provided power adapter.
- Power off the device before removing the power supply from the socket.
- Protect the power cord from being walked on or pinched, particularly at plugs, convenience receptacles, and the point where they exit from this device.
- Unplug this device if there are lightning storms or when unused for a long period of time.
- Where the power plug or an appliance coupler is used as the disconnect device.
- The disconnect device shall remain readily operable.
- The temperature near the outlet will rise during and after the projection.
- Please don’t touch it, it may cause burns.
- Do not install the projector in sites with improper ventilation.
- Do not install the projector in hot and humid sites.
- Do not block the ventilation holes (intake or exhaust).
- Do not install the projector near the temperature and smoke transducer. It may cause a sensor failure.
- Please do not look into the lens when the projector is working. Otherwise, it may hurt your eyes.
Content Package
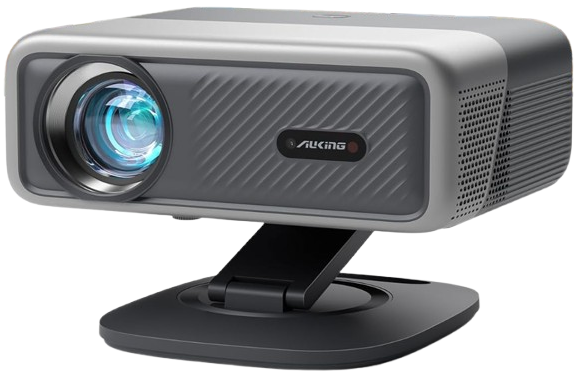
Projector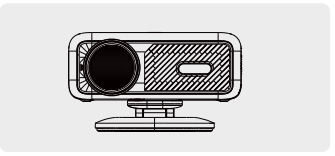
HDMI Cord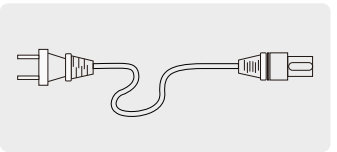
Power Cord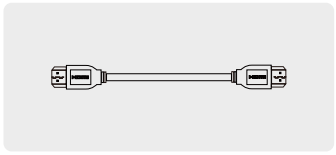 AV Signal Cord
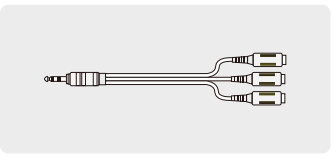
Remote Control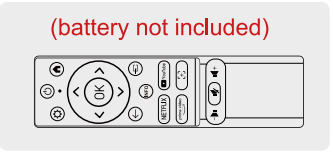
User Manual
Lens Cap
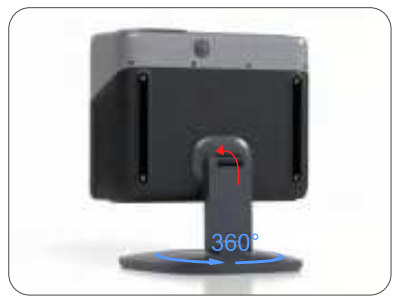
Overview
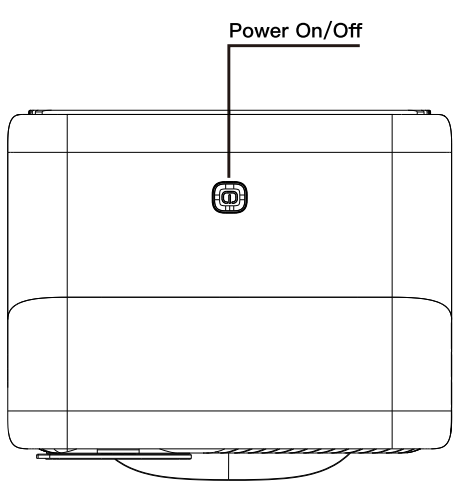
Projector Stand
Scan QR codes or search for “VS-KING PROJECTOR” on YouTube to get videos.

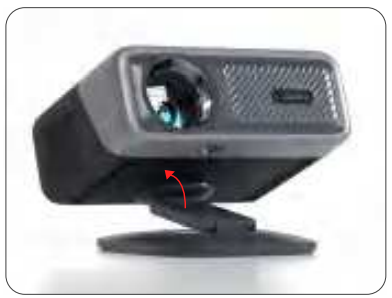
- Raise the projector via the top axis.
- Push the bracket shaft upward.
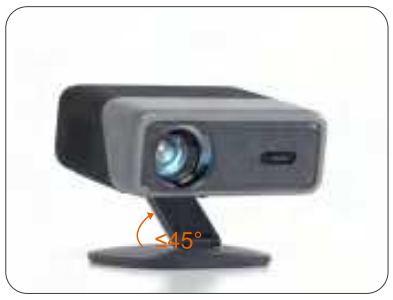
- If you want front and rear projection, the chassis and bracket axis should not exceed 45 degrees.
- Lift the projector to a horizontal position.
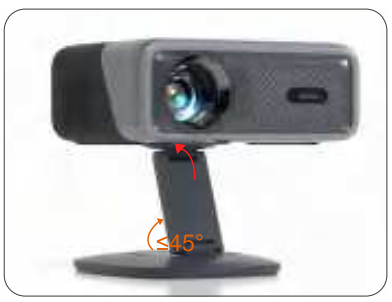
- If you want to project on the ceiling, please raise the bracket according to the first and second steps, rotate the bracket rod 90 degrees, and then rotate the projector to the direction of the ceiling.
Remote Control

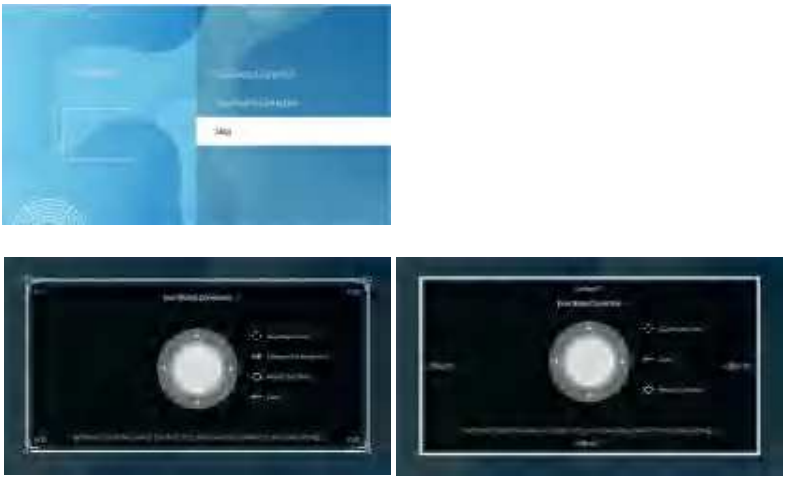
Initial Power-On Settings
- Pairing with a Bluetooth remote control.
- Please set your system language.
- Select your region.
- Click “VIEW ADDITIONAL DETAILS” to read about firmware updates and personal information security settings.
- Keystone Setting
- Network setup and connecting to your home WiFi.
- Set up Netflix.
- The setup is completed.


Projector Focus
Auto Focus
Press the” {+ “on the remote control to auto focus.
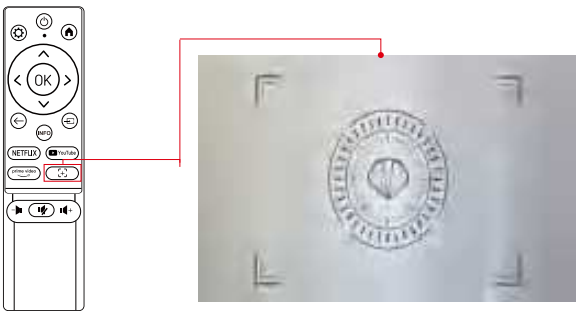
- It is recommended to offset the angle range of the projector from 0 to 15 ° to avoid blurring of the screen. (Positive projection screen is the best and most recommended).
- The projector will use autofocus and automatic trapezoidal correction to quickly adjust the image within 3-5 seconds, making it look clear and regular.
Manual Focusing
Long-press the ” (+)” on the remote control to enter the manual focus page. You can adjust the “⇑” or “⇓”button to obtain a sharper image.

- If the clarity of the projector does not meet your expectations after autofocus, you can try to use the manual focus function to adjust it to achieve a clearer image.
Wireless Connections
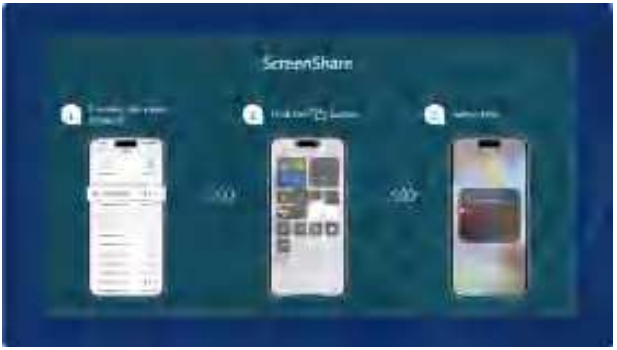
Connecting to the Mobile Device
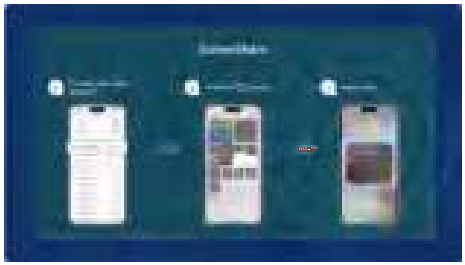
For iOS Device
Your projector and your devices need to be connected to the same home WiFi.
- Access” on the homepage, then select.
- The projector keeps staying in the Screen Share channel page.
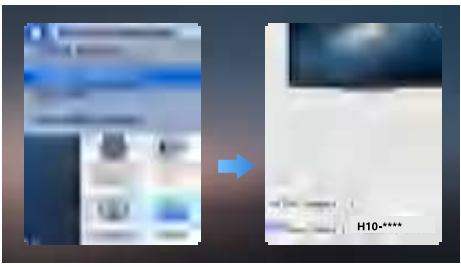
- Open the Control Center of your iOS device, click “Screen Mirroring” and then select “H10_****” from the list to connect.

For Android Device
- Access” on the homepage to enter, then select.
- The projector keeps staying in Screencast channel page.
- Turn on the “WLAN” and “Bluetooth” on your Android device. Open the”Multi-Screen’function and select “H10_****” from the list.

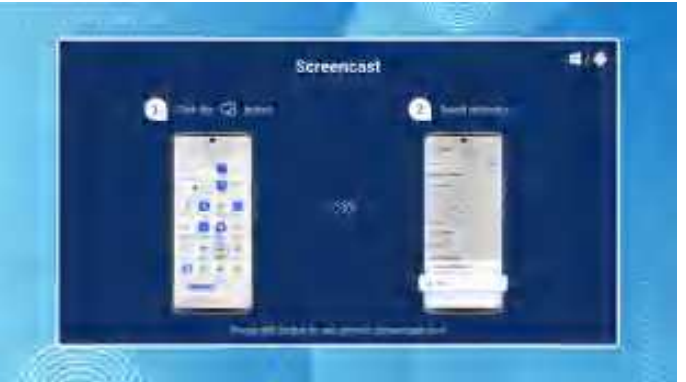
To activate this function, your Android device must support a “Multi-Screen/Wireless” display. Names of the “Screen Mirroring” function may differ from different devices. Google phones and partial Motorola phones prohibit screen mirroring directly from the projector due to mirroring protocol issues. You need to have a Google Chromecast to connect it.
Projection
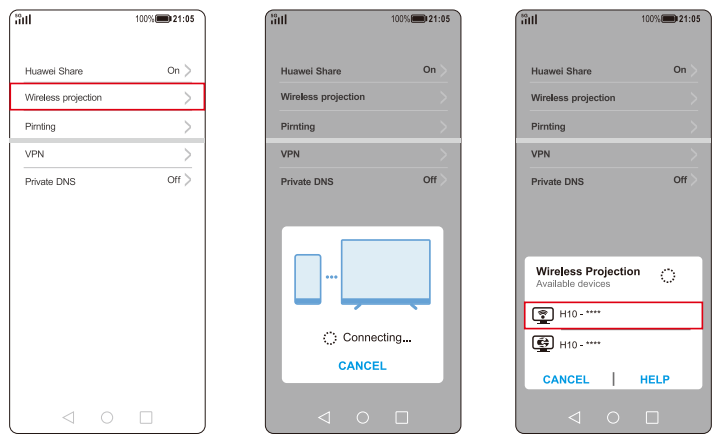
HUAWEI
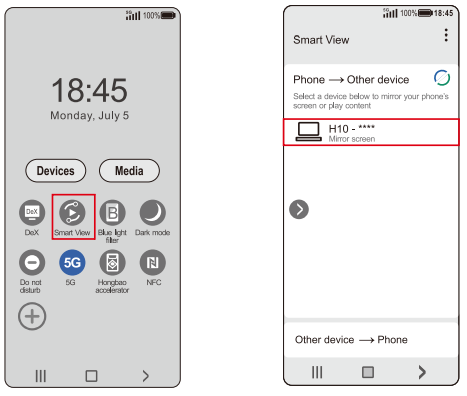
SAMSUNG
Swipe up the screen of your Samsung device, then click “Smart View” and search for the device of the projector.
XIAOMI
Swipe up the screen of your Xiaomi device, then click “Connection & Sharing” and search for the device of the projector.

Make sure your mobile device is close to the projector when using a wireless connection. A distance within 1m/3.3ft is recommended.
Connecting to the computer
For MAC OS
Your projector and your devices need to be connected to the same home WiFi.
- Access” “on the homepage, then select.
- The projector keeps staying inthe ScreenShare channel page.
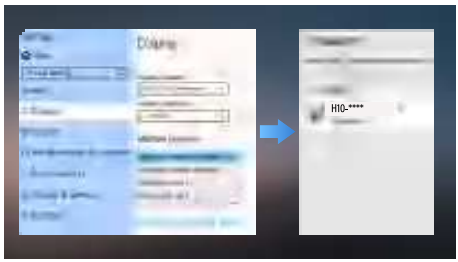
- (Open”System Preferences” on your Mac OS device – Choose “Displays” – Click “AirPlayDisplay”-Connect”H10_****”.

For Win 10 or Above
- Access” ” on the homepage to enter, then select” “.
- Turn on your computer’s WiFi function

Option 1 & 2
- Access “System”-“Display” in the computer’s “Settings”.
- Find “Connect to a Wireless Display”.
- Connect to “H10-****” and select “Duplicate these displays” in “Multiple displays”.
When the “Connect to a Wireless Display” option does not appear in the “Multiple Displays” option list, and you cannot connect.

- Access “Settings” – “System” – “Projecting to this PC” – “Optional Features”
- Add a “Wireless Display” to your computer, then follow the steps in Option 1 to try connecting again.
Connecting to Windows Laptop/PC
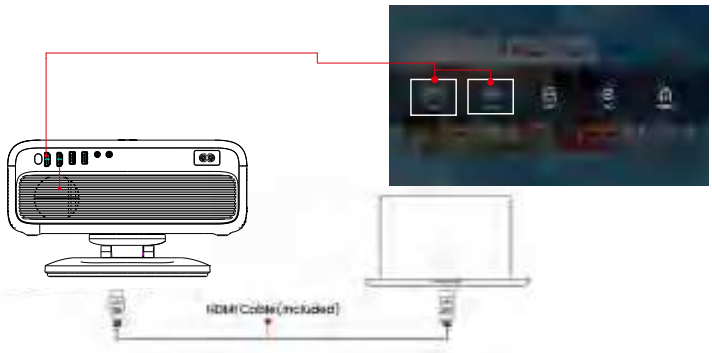
- Connect your Windows laptop/PC to the projector with the HDMI cable from the accessory box.
- Access “” on the home page, select the corresponding “HDMI1” or “HDMI2” according to the port you plug in. Then the connection is completed.
DVD Player
Connect the projector to your DVD player using the AV cable included in the package.
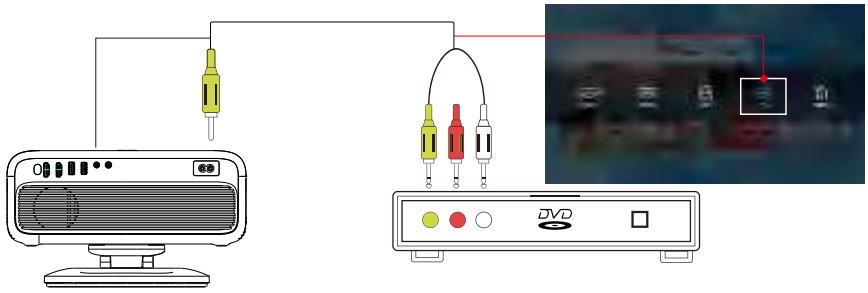
- Turn on your DVD player and projector.
- Connect the colored female connector to the RCA cable of the DVD player, and then connect the yellow male connector to the projector’s AV input port.
- Access ” on the home page, select “AV” and connect it.
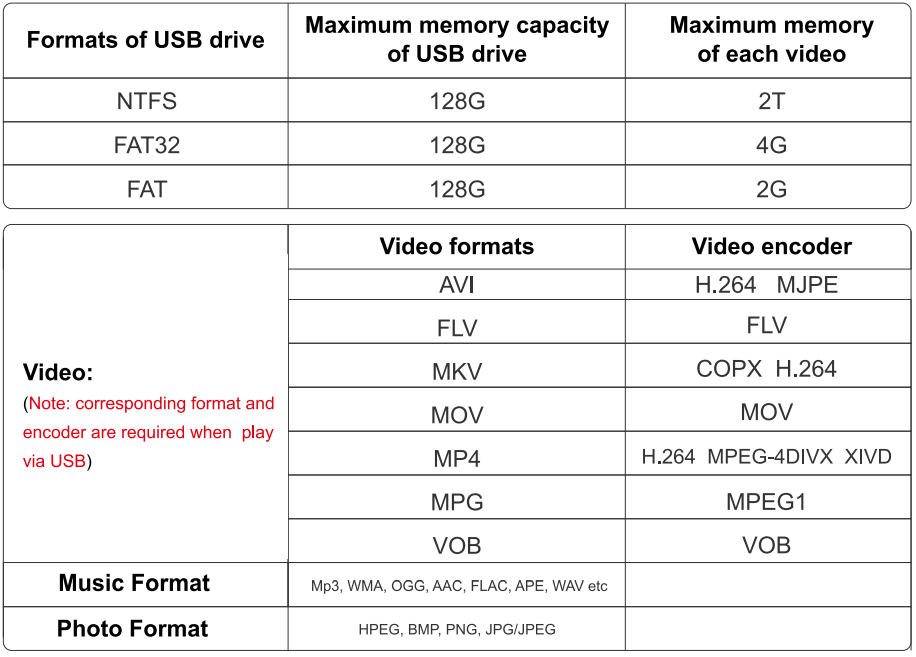
External Storage Device
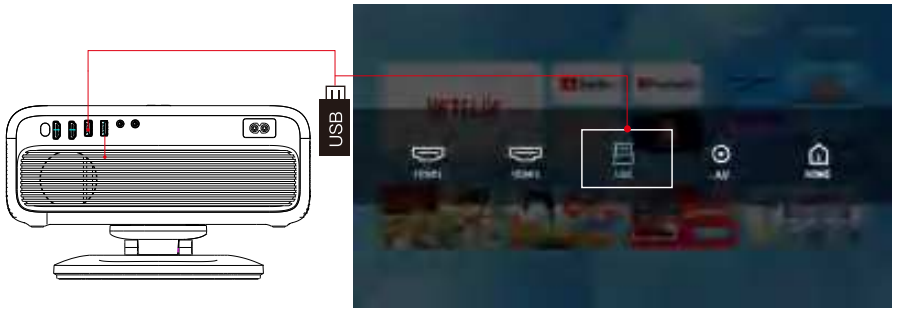
- Turn on the projector and insert the USB flash drive.
- Access ” ” on the home page, select the “USB” in the Input Source page, and click to enter the USB flash drive file.
Please note that your USB drive and files need to meet the following formats. (For example: If the format of your USB drive is NTFS, the memory capacity of the USB drive must be under 128G and the memory of video must be under 2 TB.)
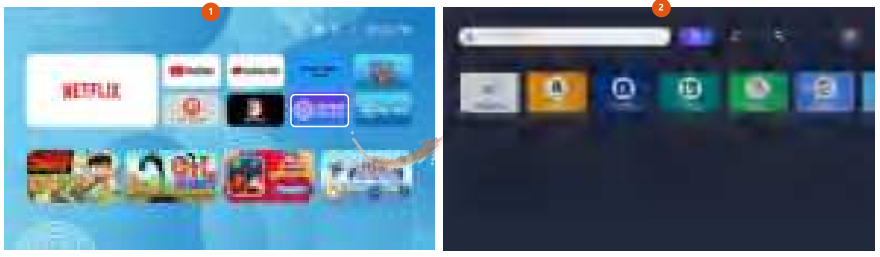
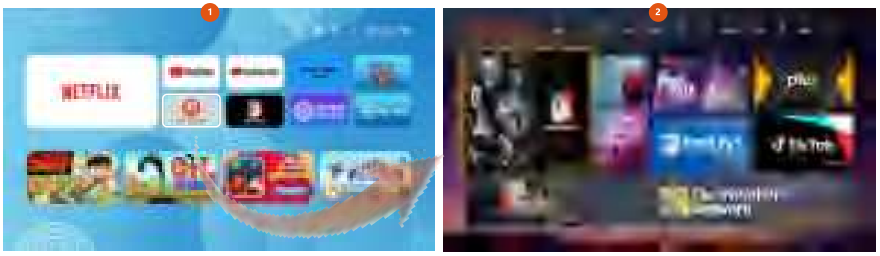
For Web Browsers
- Select the” ” icon on the homepage, then search for the video or news you want to watch.
- Select and access the news you want to watch. ” on the homepage, then search for the video.
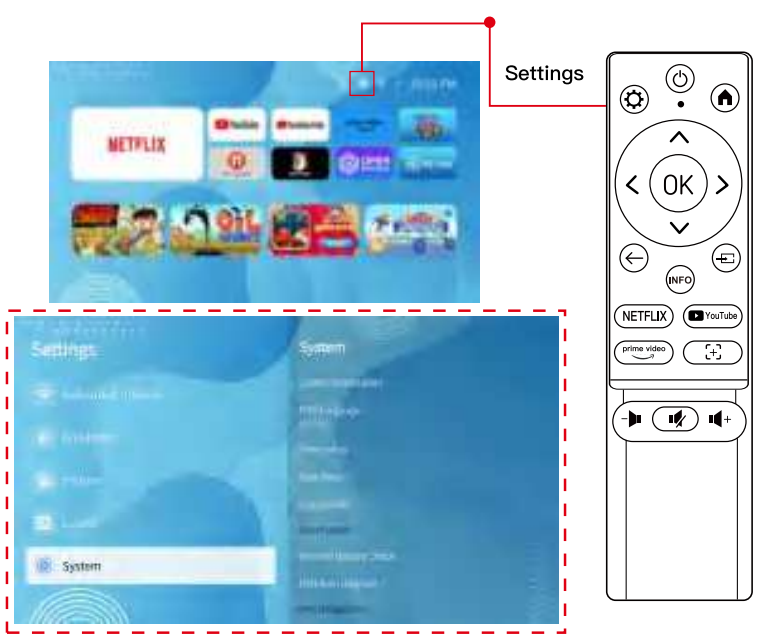
Settings
Select the Jicon of the homepage or press the ” &” shortcut key on the remote control to enter the settings page.
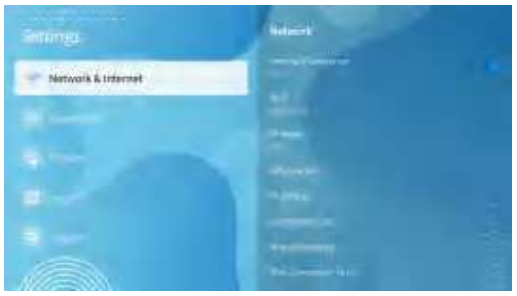
Network Setting
- Select ” ” on the home page, and then access “Network”.
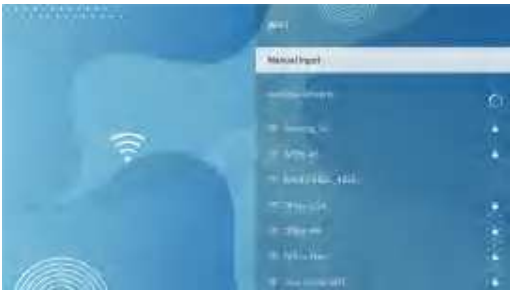
- Select “Wi-Fi” and then choose your wireless network from the “Available Networks”.
- Press “OK” to enter the password page. Enter your home network password and press “OK” to connect. The network is successfully connected.
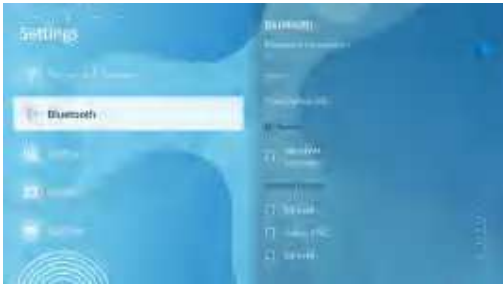
Bluetooth Setting
When connecting to external Bluetooth devices.
- Select ” ” on the home page, and then access “Bluetooth”.
- Turn on the projector’s “Bluetooth” and also turn on your Bluetooth device, making sure Bluetooth is in pairing mode.
- Please wait 3-8 seconds for the projector to search for available Bluetooth devices, then select your Bluetooth device.
Use the projector as a Bluetooth speaker for your phone/tablet.
- Access”| ” on the homepage to enter, then select. “
- Turn on your bluetooth of your phone/tablet and make sure Bluetooth is in pairing mode. Scan and select your “H10_****” from the list and connect.

Picture
Keystone
Select “( ” on the home page, and then access “Picture”-“Keystone”.
Auto Keystone
This projector automatically turns on the Keystone function when turned on by default.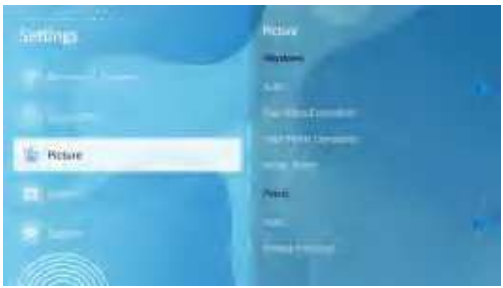
- If you need to perform automatic trapezoidal correction, we suggest that you always maintain the adjustment angle between the projector and the screen between 0-15 °, wait for 3-5 seconds, and the screen will be trapezoidally corrected to a regular shape.
Four points Correction Function
- Adjust the ” picture shape to obtain better projection effects.
Four Sides Correction Function
- Adjust the ” picture shape to obtain better projection effects. ” V “or” •”button to adjust the “or” •”button to adjust the picture shape to obtain better projection effects.
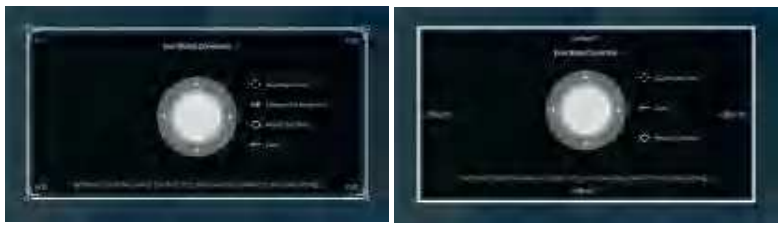
Image Zoom
Adjust screen size from 100% to 50% by pressing the “A” and “V” keys. Press “A” to reduce the screen size, and press “y” to increase the screen size.
Focus
- Select ” on the home page, and then access “Picture”-“Focus”.
- Press the focus button on the remote control to auto focus.
Auto Focus
The autofocus function is enabled by default, and it will automatically focus every time you turn on the device. If you don’t want autofocus, you can turn it off in Settings > Picture > Focus > Auto.
- It is recommended to offset the angle range of the projector from 0 to 15 ° to avoid blurring of the screen. (Positive projection screen is the best and most recommended).
- The projector will use autofocus and automatic trapezoidal correction to quickly adjust the image within 3-5 seconds, making it look clear and regular.
Manual Focusing
- Enter “- “Picture”- “Focus” – “Manual Focus” function, and adjust the “A” or “y” button to obtain a sharper image.
- Long-press the focus button on the remote control to enter the electric focus page. You can adjust the “A” or ” V “button to obtain a sharper image.
- If the projector’s clarity does not meet your expectations after autofocus, you can try using the manual focus function to adjust it and achieve a clearer image.

Display
Picture Mode
Select”” on the home page, then enter ” Picture” – “Picture Modest” to adjust the corresponding parameters according to your preference.
- During playback, press the “” to enter “Picture Mode”, and adjust the brightness with “Brightness” or “Gamma”.
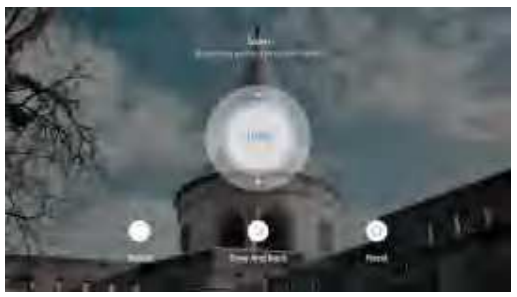
Projection
Select ” ” on the homepage, then enter “Picture” -“Projection” to select the appropriate projection mode according to your needs, including Front, Rear, Front Ceiling, and Rear Ceiling.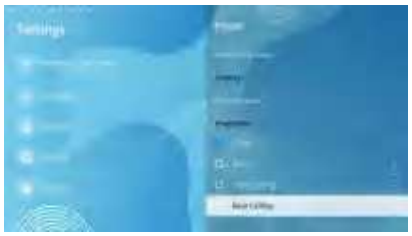
If you want to hang it from the ceiling, there are two ways to hang it. The screw hole size for both methods is M.6
- Use the four screw holes on the stand to hang the Projector.
- Remove the bracket and use the four screw holes on the projector to hang it directly.
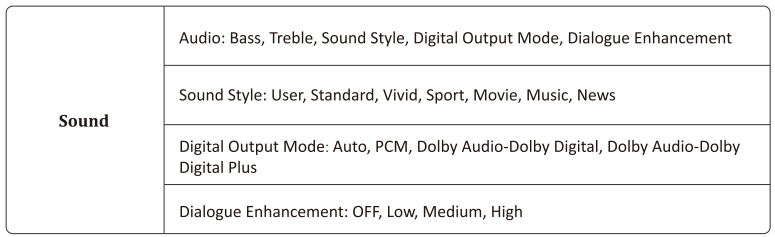
Sound
Select ” ” on the homepage, then enter “Sound”, and adjust the corresponding parameters according to your preference.
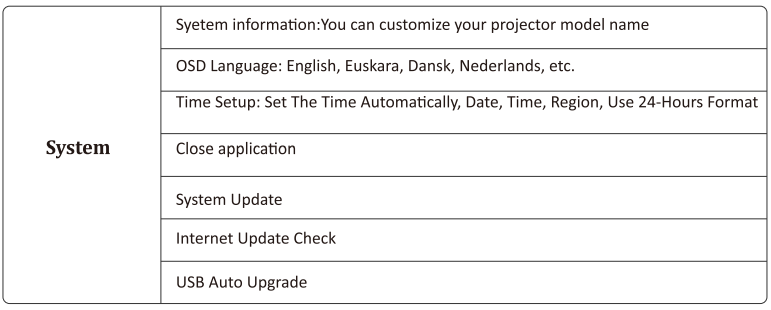
System
Select ” ” on the homepage, then enter “System”.
Specification
- Product Model: H10
- Light Source: LED
- Power Input: AC 100V-240V 50/60 Hz
- Projector Consumption: 95W
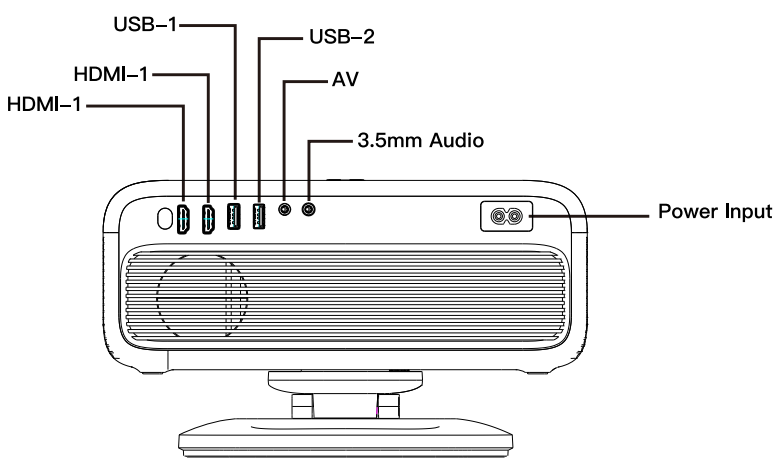
- Input: HDMIx2,USB×2,AVx1
- Output: 3.5 mm audio port(speakers/headphones)
- Projection Ratio: 1.35:1
- Projection Distance: 4.6-16.4ft
- Keystone Correction: Auto Correction, Four-Points Correction
- Focus mode: Auto Focus, Manual Focus, Autofocus after displacement
- Dimension: 12.1*11.4*7.4 in
- Audio Frequency: 5W
- Signal Ports: Video Input (1.OVp-p +/-5%) HDMI Input (480i 480p 576i 720p 1080i 1080p 2k 4k)
Troubleshooting
- When a single angle adjustment exceeds 30°, it may not be possible to focus due to excessive angle adjustment. Therefore, we recommend adjusting to an angle of 0~30° and waiting 3~5 seconds.
- Wireless connection is not possible due to the Google protocol. However, it is recommended that you use a Google adapter to connect the projector to your phone via an HDMI cable.
- You can open ” OPEN Browser or”®” APP STORE on the homepage to search and add the application you want. Select ” ” on the homepage, then enter “Picture” -“Projection” to select the appropriate projection mode according to your needs.
- When a new version is detected, you will be asked to reboot and update. Copyright of some videos only allowed to be played on mobile phones /laptops/computers, and projectors are not allowed.
- Make sure the batteries are installed correctly and that there are enough. Please make sure the IR receiver is not covered.
Customer Support
- Website: https://auking.org/
- Address: 2722 E Michigan Ave, Lansing, MI 48912, United States