
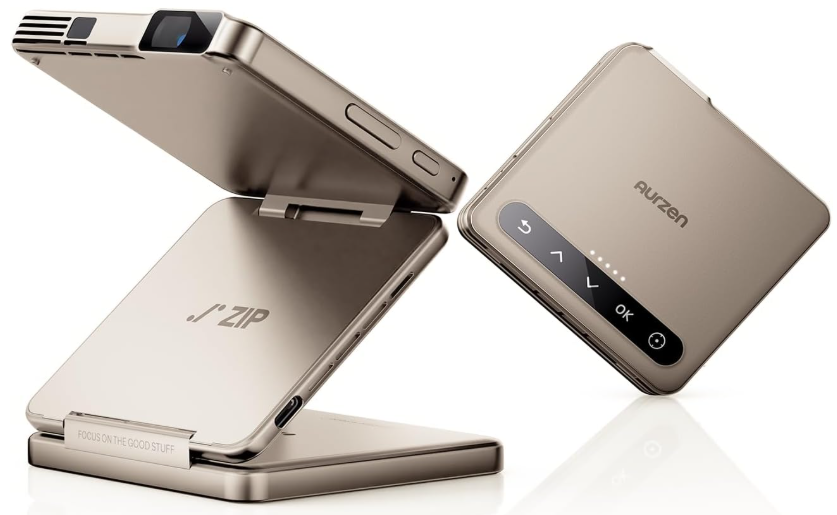
Aurzen ZIP Tri-Fold DLP Portable Projector
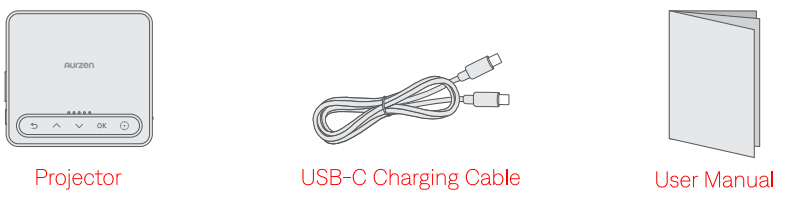
In The Box
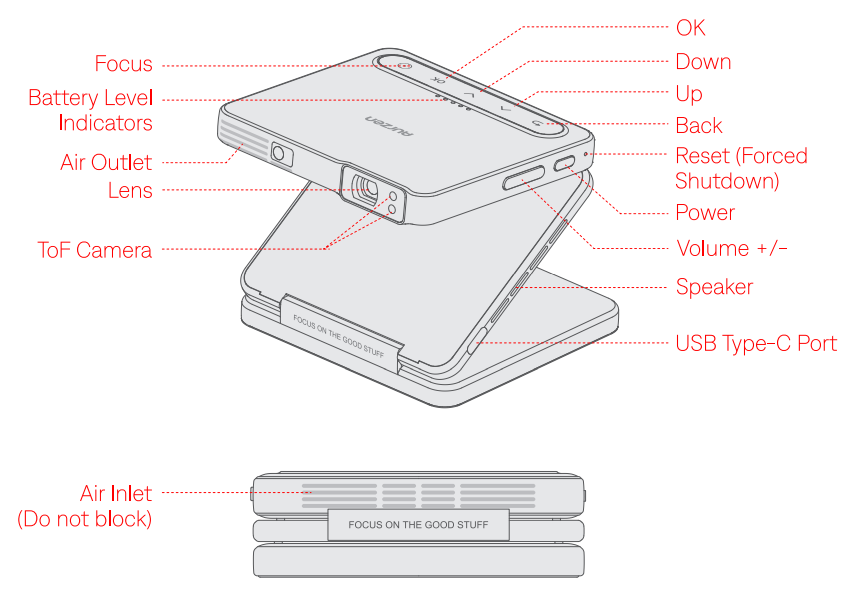
Overview
Quick Start
Before Use
- Connect the projector to a power supply using the provided charging cable. Once fully charged, you can keep it connected or unplug it.
- Charging: Blinking white light.
- Fast charging (12V/2A or higher power supply): Blinking white light with a solid green light.
- Fully charged: All indicator lights remain solid.
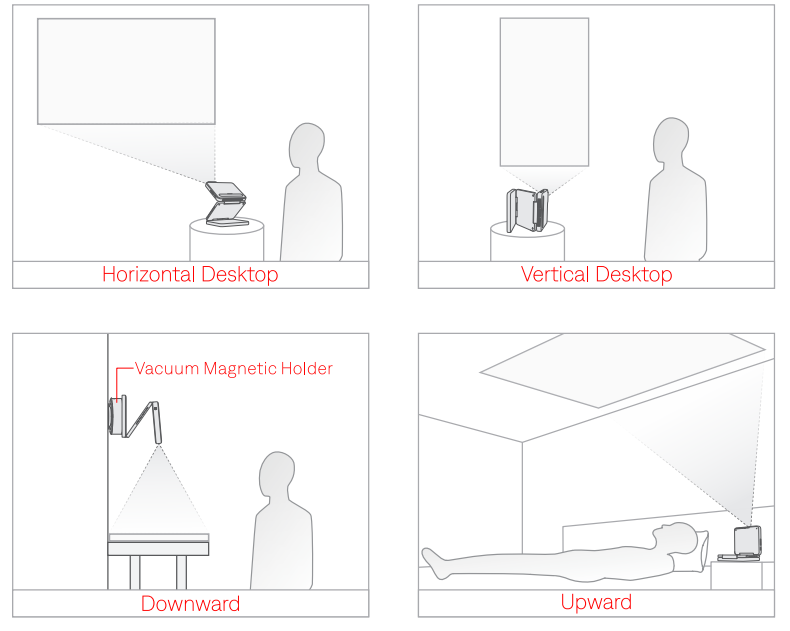
- Unfold the projector to your desired angle and place it on your desired surface.
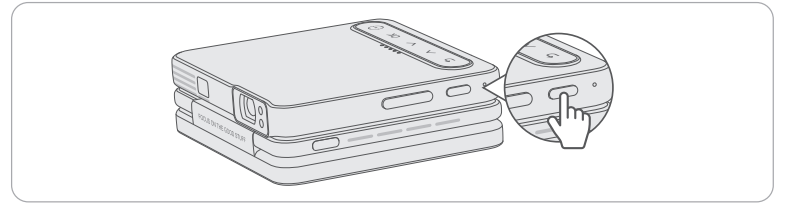
- Power On/Off Press and hold the Power Button for 3 seconds to turn on the projector; press and hold it for 3 seconds to turn it off.
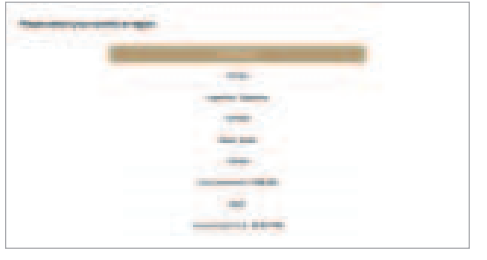
- Region Selection During the first-time setup, you will need to choose a region. Select the region that| matches your current location.

Focus
Auto Focus: The projector will automatically adjust the focus when it detects shaking or movement. You can also press the Focus button on the projector to activate Auto Focus. If it doesn’t activate immediately, press the button repeatedly until the image is clear. Manual Focus: On the homepage, open the side menu by pressing the OK button on the projector. Select Common Settings > Manual Focus, and follow the on-screen instructions to adjust the focus until the image is clear.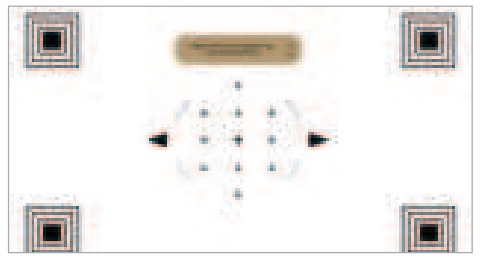
Keystone Correction
Auto Keystone Correction: The projector automatically corrects the vertical keystone distortion when it detects movement. Manual Keystone Correction: On the homepage, open the side menu by pressing the OK button on the projector. Select Common Settings > Keystone Correction > Manual Keystone, and follow the on-screen instructions to correct the vertical distortion.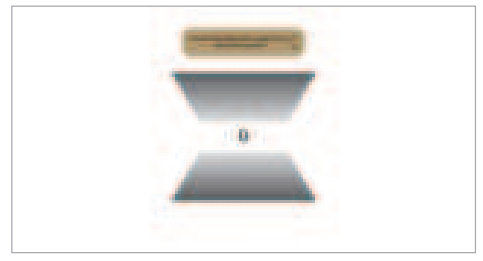
Screen Mirroring
- ZIP does not support Google Cast, so Pixel, Motorola phones, and Chromebooks may not be compatible for wireless casting.
- Copyrighted content from Netflix, Hulu, Disney+, or other similar streaming services CANNOT be wirelessly mirrored or cast due to copyright restrictions.
ForiOS Devices
- Turn on WiFi on your iOS device (a successful WiFi connection is not required).
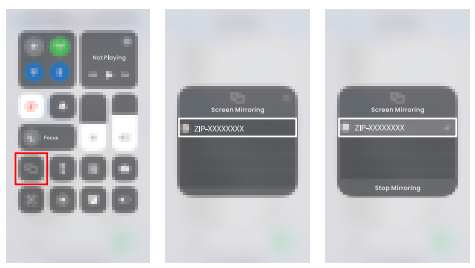
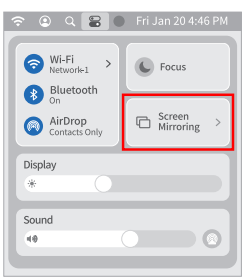
- Ensure the projector is on its homepage. Open the Control Center on your iOS device and select
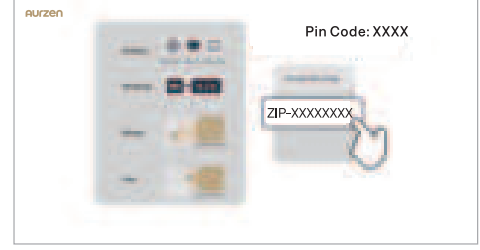
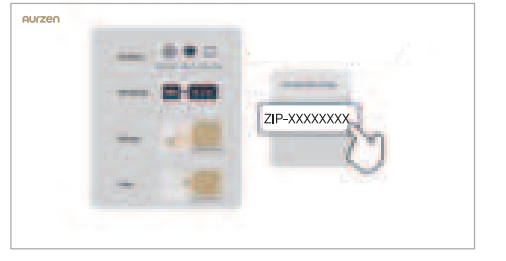
- Screen Mirroring. Select ZIP-XXXXXXXX from the search list to connect.
- A code will appear on the projector’s screen. Enter the code on your iOS device.
- Once connected, the content from your iOS device will be mirrored onto the screen/wall.
For Android Devices
Ensure your Android device supports Multi-screen, Smart View, or Wireless Display (names may vary by device).
- Turn on WiFi on your Android device (a successful WiFi connection is not required).
- Ensure the projector is on its homepage. Activate the Multi-screen/Smart View/ Wireless Display function on your Android device and search for the projector.
- Select ZIP-XXXXXXXX from the search list to connect. Once connected, the content from your Android device will be mirrored onto the screen/wall.
For Mac
- Ensure your Mac supports the Screen Mirroring feature. Turn on WiFi on your Mac (a successful connection is not required).
- Ensure the projector is on its homepage. On your Mac, click Control Center & in the upper right corner, select Screen Mirroring.
- Select ZIP-XXXXXXXX from the search list to connect. Once connected, the content from your Mac will be mirrored onto the screen/wall.
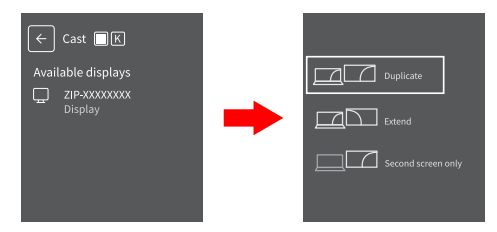
For Windows
- Ensure your Windows device supports the cast feature. Turn on WiFi on your Windows device (a successful WiFi connection is not required).
- Ensure the projector is on its homepage. Press the “Windows Logo + K’ key combination on your keyboard to enter the Cast interface.
- Select ZIP-XXXXXXXX from the search list to connect. Then select Duplicate. Once connected, the content from your Windows device will be mirrored onto the screen/
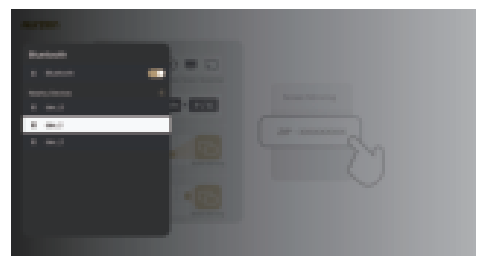
BT Connection
You can connect a BT speaker or headphones to the projector via BT.
- Turn on your BT device and make it ready for a BT connection.
Distance & Size
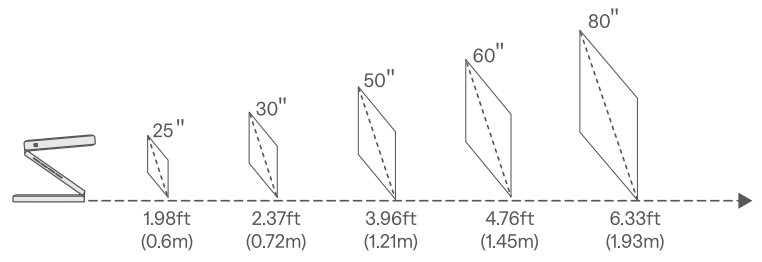
- For optimal image quality, we recommend a projection size of 40-60 inches.
- Position the projector 3.3-4.76 feet (1-1.45 meters) away from the wall or screen.
- The projection distance may vary depending on the content.
- Adjust the distance between the projector and the projection surface as needed for optimal viewing.
- Ambient darkness will improve the clarity of the projected images.
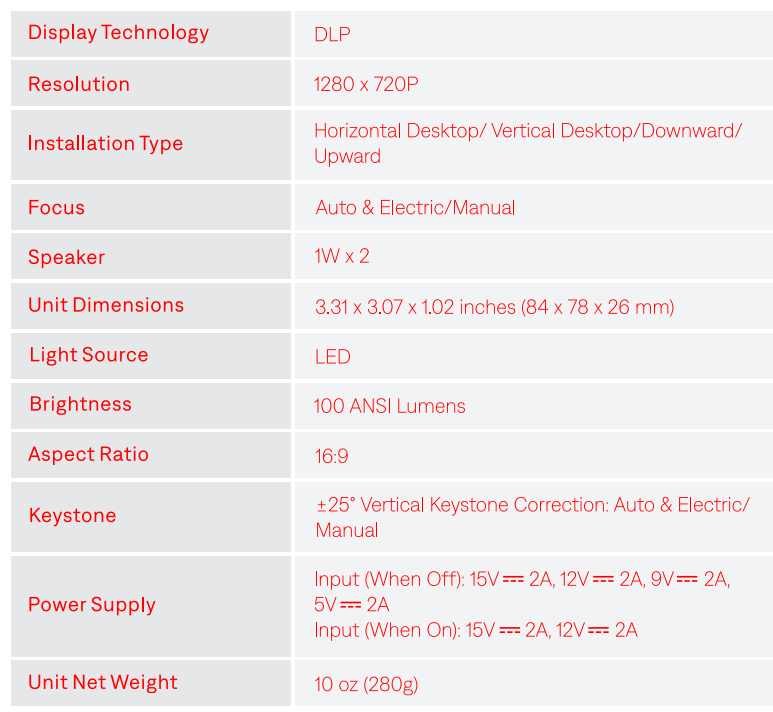
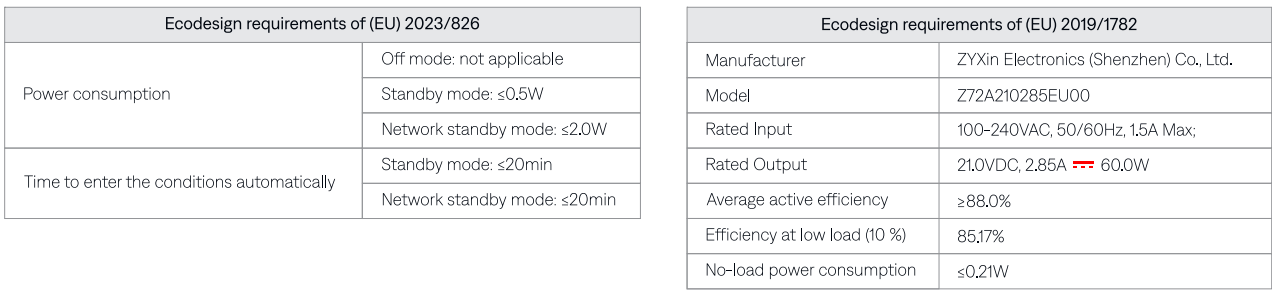
Specification
The below radio frequency specification only aappliesto the EU and UK regions:
Troubleshooting
- Blurry image
- Adjust the focus of the projector.
- Make sure the projection distance is in the effective focal range of the projector.
- Remove the dust or dirt from the lens with a soft cloth or soft-bristled brush.
- Non-rectangular image
- Use the keystone correction function to adjust the image shape.
- Auto focus failure
- Make sure the ToF camera of the projector is not blocked.
- Move the projector back and forth until it is within the effective auto-focus range.
- Auto keystone correction failure
- Make sure the Tof camera of the projector is not blocked.
- BT device connection
- Ensure your BT device is ready for a connection.
- Changing language
- On the projector’s homepage, open the side menu by pressing the OK button on the projector.
- Select Common Settings > Languages and choose your desired language.
- Projector getting warm
- It’s normal for the projector to generate heat during use.
- It’ss been tested and meets safety standards.
- Noise increase in Turbo mode
- The noise level rises in Turbo mode due to enhanced heat dissipation performance. This is normal.
Disposal
All products bearing this symbol are waste electrical and electronic equipment (WEEE, as in Directive 2012/19/EU), which should not be mixed with unsorted household waste. Instead, you should protect human health and the environment by handing over your waste equipment to a designated collection point for the recycling of waste electrical and electronic equipment, appointed by the government or local authorities. Correct disposal and recycling will help prevent potential negative consequences to theenvironment and human health. Please contact the installer or local authorities for more information about the location, as well as the terms and conditions of such collection points.
FCC Statements
This equipment generates, uses, and can radiate radio frequency energy and, if not installed and used in accordance with the instructions, may cause harmful interference to radio communications. However, there is no guarantee that interference will not occur in a particular installation.
- Reorient or relocate the receiving antenna. Increase the separation between the equipment and receiver. Consult the dealer or an experienced radio/TV technician for help.
RF Exposure Information:
- The radiated output power of this device meets the limits of the FCC radio frequency exposure limits.
Canada compliance statement
This device complies with Innovation, Science and Economic Development Canada license-exempt RSS standard(s). Operation is subject to the following two conditions:
- This device may not cause interference, and (2) this device must accept any interference, including interference that may cause undesired operation of the device.
- Operation in the band 5150-5250 MHz is only for indoor use to reduce the potential for harmful interference to co-channel mobile satellite systems.
- The radiated output power of this device meets the limits of IC radio frequency exposure limits.
Customer Support
- Email: support@aurzen.com
- Mon-Fri, 9:00 to 17:00 EST
- Phone: +1-667-218-4830