
Brother MFC-J4320DW Connectivity Automatic Replenishment
Unpack the machine and check the components.
- Remove the protective tape and film covering the machine, and also from the Touchscreen.
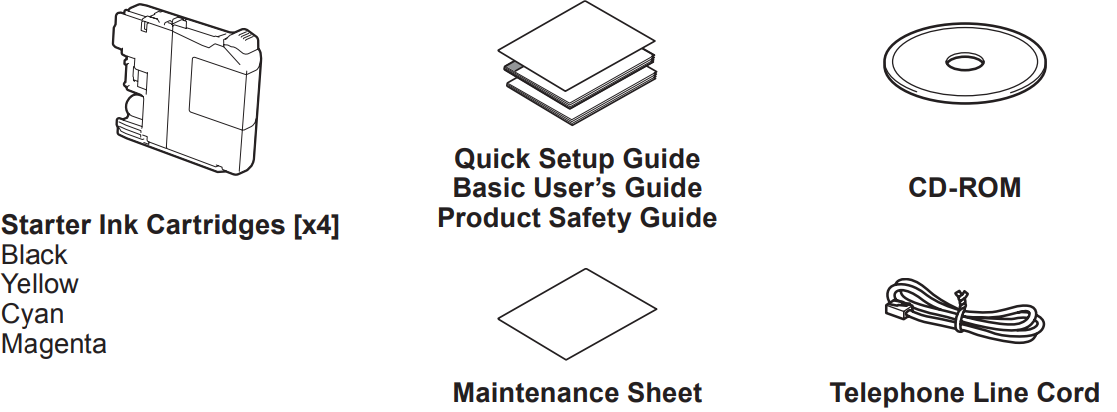
- Make sure you have all components. The components included in the box may differ depending on your country.
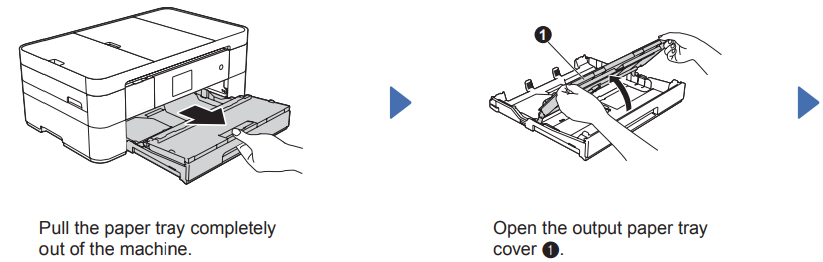
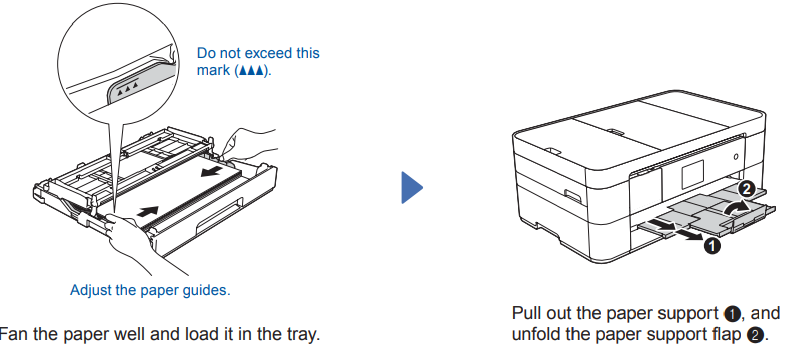
Load plain Letter/A4 paper.r
Connect the power cord and the telephone line cord.
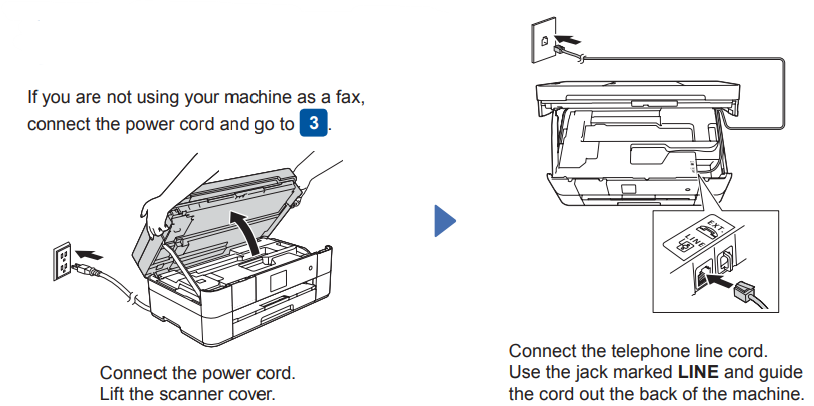
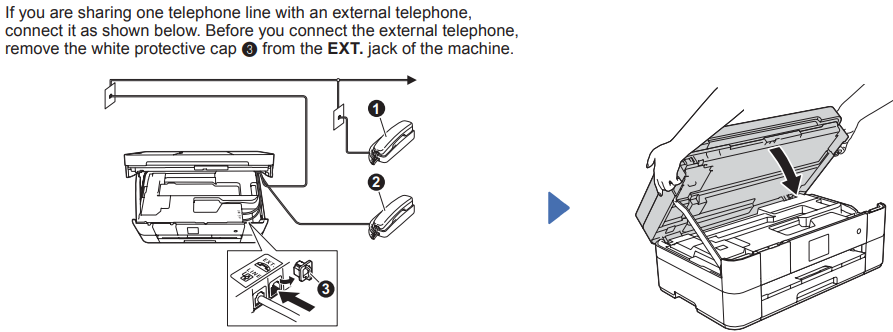
- Extension telephone
- External telephone
- Protective cap
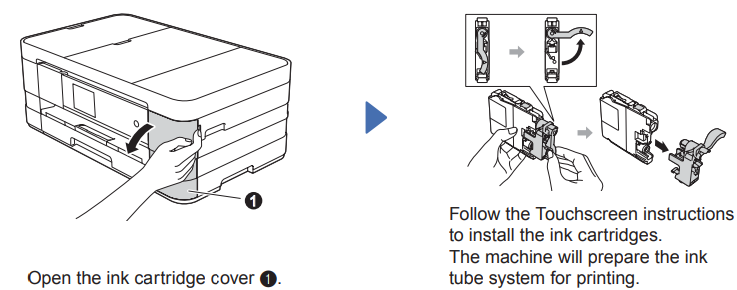
Install starter ink cartridges
You can adjust the angle of the control panel by lifting it.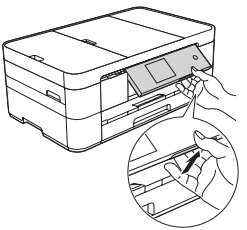
Machine Settings
When the machine has finished the initial cleaning process, follow the Touchscreen instructions to configure the machine settings.
- Check print quality
- Set date and time
- Print the installation sheet
Choose your language
- Press (Settings).
- Press All Settings.
- Press A or V to display Initial Setup. Press Initial Setup.
- Press 4 or V to display Local Language. Press Local Language.
- Press your language.
- Press [H].
Choose the correct Receive Mode.
The correct Receive Mode is determined by the external devices and telephone subscriber services (Voice Mail, Distinctive Ring, etc.) you will be using on the same line as the Brother machine.
- Press lüd (Settings).
- Press All Settings.
- Press Fax.
- Press Setup Receive.
- Press Receive Mode.
- Press your preferred ReceiveMode.
- Press (H).
Set your Station ID
Store your name and fax number so the machine prints it on all outgoing fax pages. For more information, see Entering Text in chapter 1 of the Basic User’s Guide.
- Press (Settings).
- Press All Settings.
- Press or YrY to display Initial Setup. Press Initial Setup.
- Press Station ID.
- Press Fax.
- Enter your fax number (up to 20 digits) on the Touchscreen, and then press OK.
- Press Name.
- Enter your name (up to using the Touchscreen
- Press G
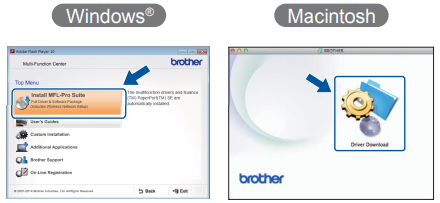
Choose your method
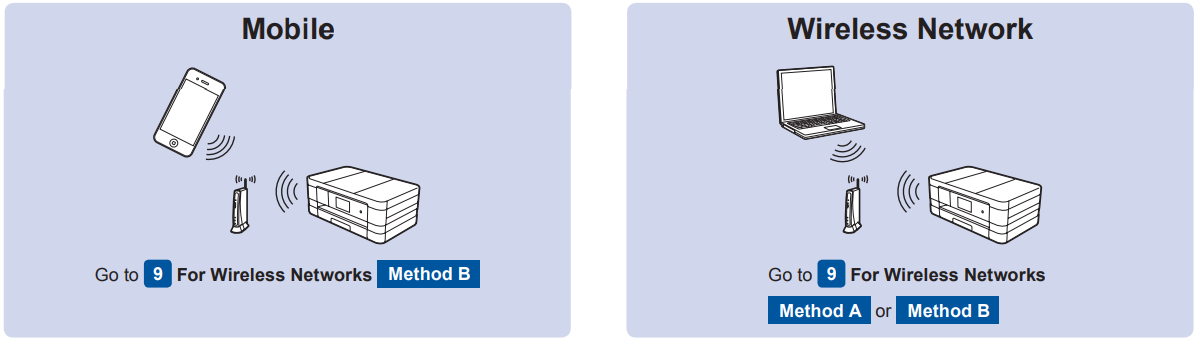
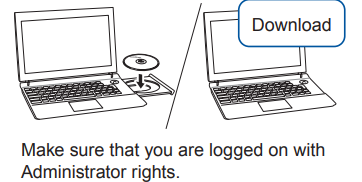
Connect to your Device and Install the Software
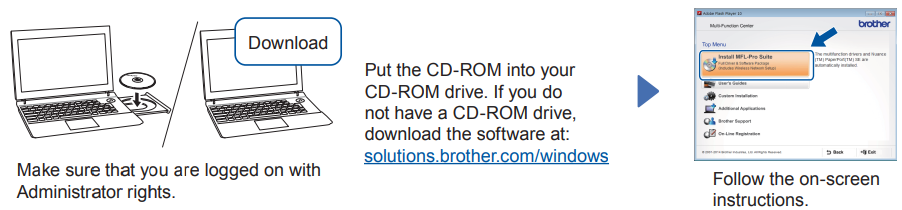
Make sure that you are logged on with Administrator rights.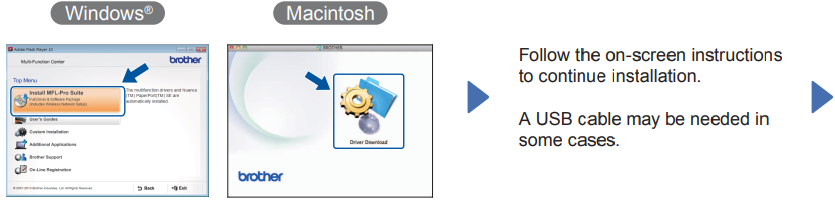
- Set up your machine.ine
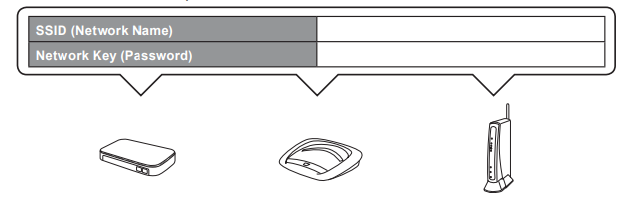
- Write your wireless access point/router information in the area below. This information may be hidden at the bottom of the wireless access point/router. If you cannot find it, ask your network administrator or wireless access point/router manufacturer.

- Press wiFt on your Brother machine’s Touchscreen, and then press Setup Wizard. When Enable WLAN? is displayed, press Yes.
- Select the SSID you wrote down in 1. Press OK.
- If the machine prompts you to enter a Network Key, enter the key you wrote down in step 1. Press OK.
- Press Yes to apply your settings.
- Write your wireless access point/router information in the area below. This information may be hidden at the bottom of the wireless access point/router. If you cannot find it, ask your network administrator or wireless access point/router manufacturer.
- Install Brother iPrint&Scan
- You can print from and scan to mobile devices using our free application “Brother iPrint&Scan.” Download and install the application from solutions.brother.com/ips.
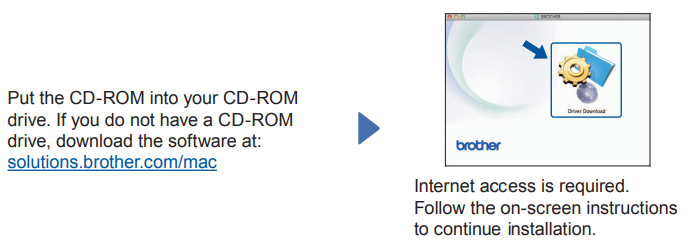
- Install MFL-Pro Suite
- Make sure that you are logged on with Administrator rights.
- Make sure that you are logged on with Administrator rights.
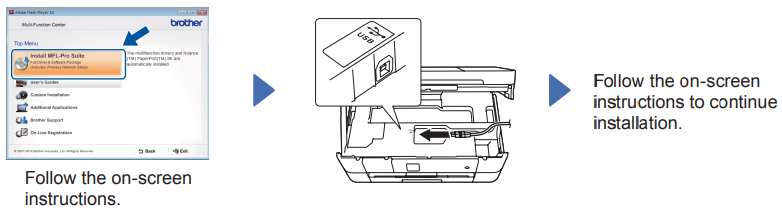
- Install MFL-Pro Suite
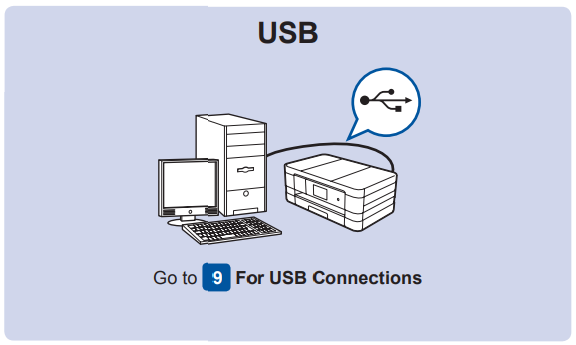
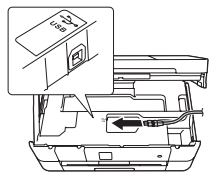
- Connect the USB cable
- Connect the USB cable
- Install MFL-Pro Suite
Customer Service
- Website: www.brother.com