
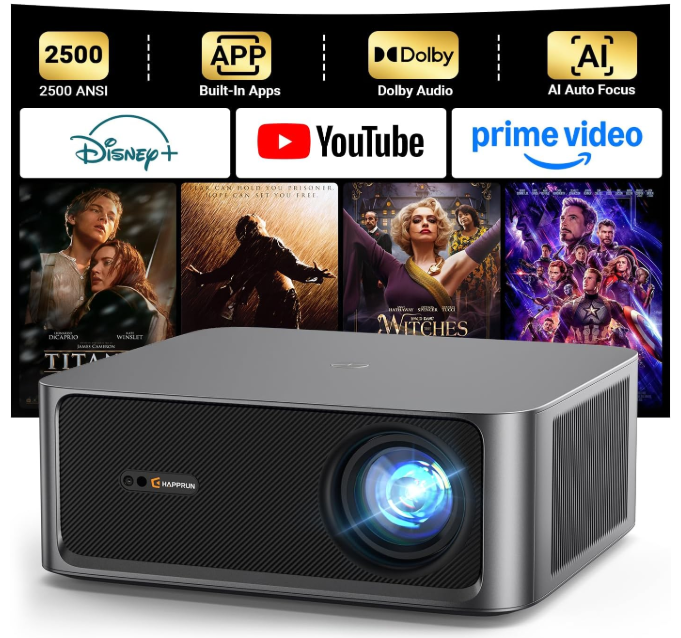
HAPPRUN KC7 Pro 2500 ANSI Lumens Projector
Safety Instructions
- Do not look directly into the lens while the projector is running, as strong light may damage your eyes.
- Keep the projector and accessories out of the reach of children.
- Please ensure that the projector’s working environment is dry and well-ventilated.
- To prevent electric shock, please keep the projector out of the rain and away from moisture.
- It is recommended to switch off the projector after it has run for 6 hours non-stop.
- Do not press hard on the projector, as it may damage the product.
- Do not throw, hit, or shake the projector to avoid damaging the circuit board.
- Any questions after receiving the projector, please contact us.
- We will quickly and correctly solve your problem within 24 hours and give you a satisfactory answer.
Package Contents
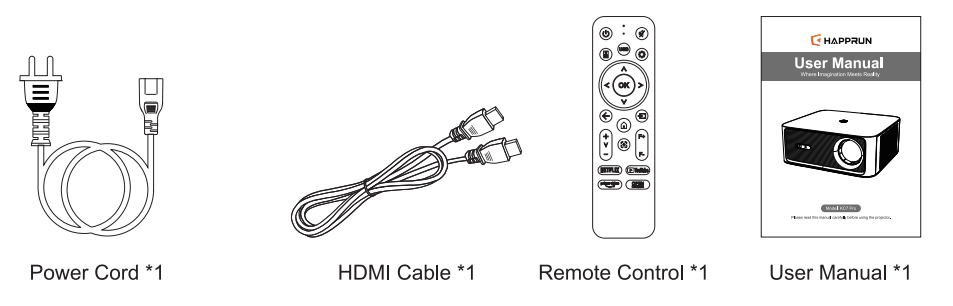
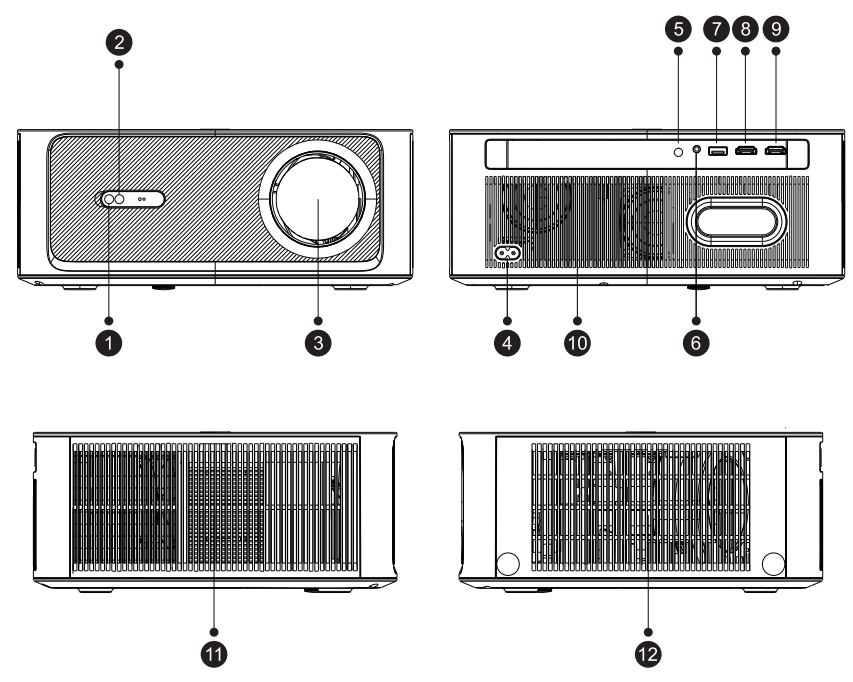
- Camera
- IR Receiver
- Lens
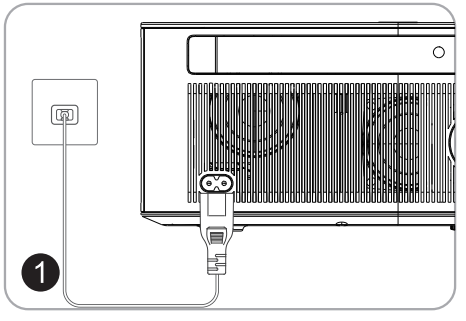
- Power Jack
- IR Receiver
- Headphone Jack
- USB Port
- HDMI Port
- HDMI Port
- Speaker*2
- Air Outlet
- Air Inlet
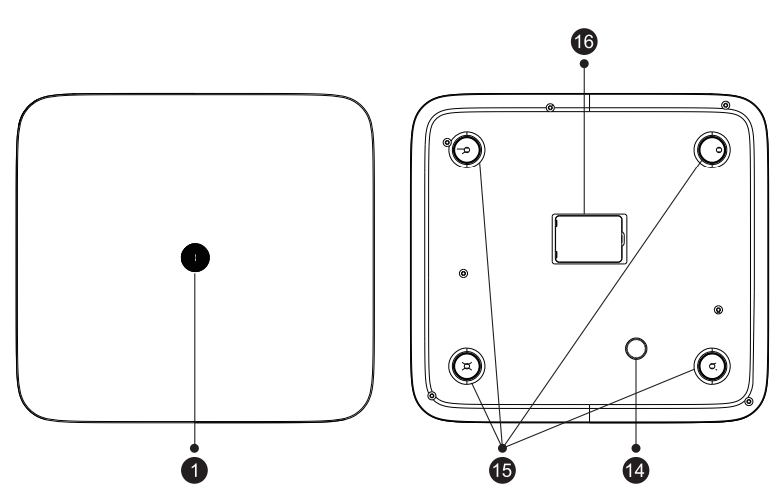
- Power Key
- Angle Adjustment Knob
- Hole for Stand (M5)
- Bottom Label & Dust Cover
Remote Control Button Function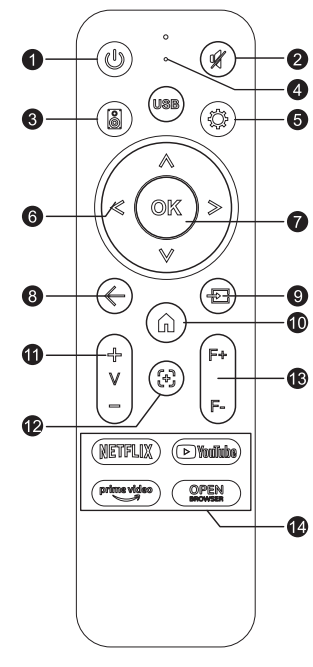
- Power
- Mute
- BT Speaker Shortcut Key
- USB Shortcut Key
- Settings
- Arrow Keys
- 0K
- Back
- Source
- Home
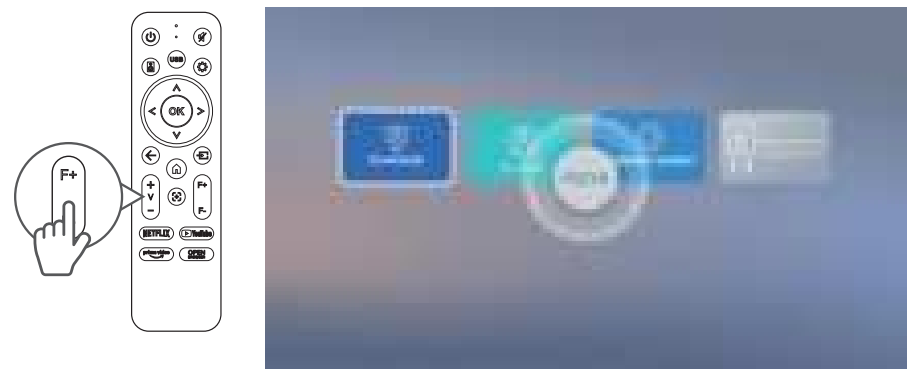
- Volume+/-
- Auto Focus
- Focus+/-
- App Shortcut
Projector Installation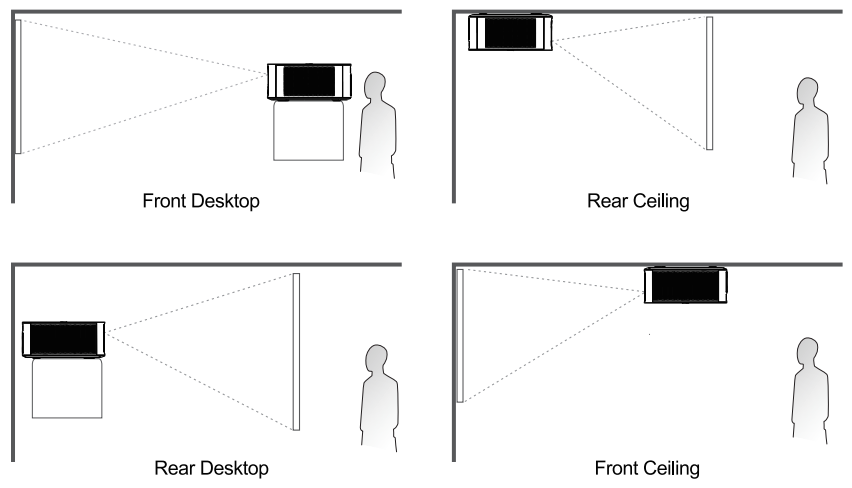
Ceiling mount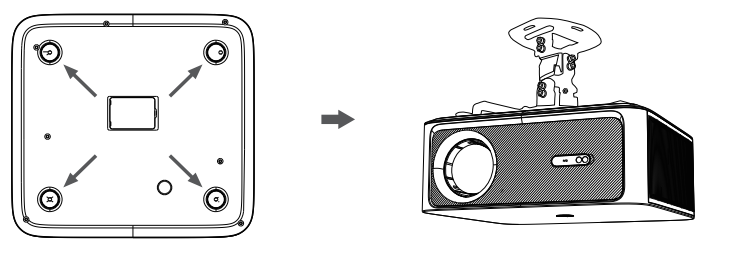
When ceiling mounting the projector, please purchase a compatible 4-hole mount (M5 screws) separately.
Quick Start
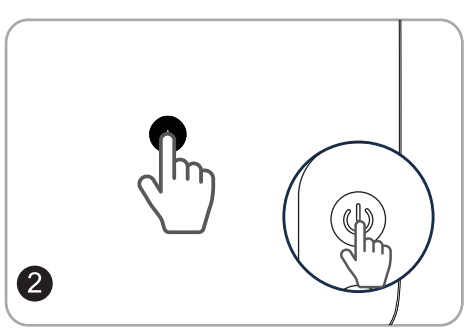
Power On/Off
- Connect the power adapter to an outlet.
- Press the power button on the device or the remote control to turn it on.
Screen size adjustment
Go to Home > Settings> Picture > Image Zoom to reduce or enlarge the image size.

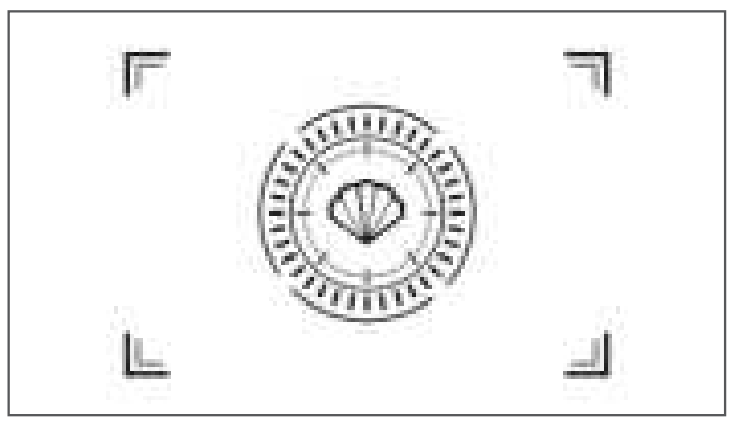
Focus
- Auto Focus: When the projector detects shaking/rapid movement, it will automatically adjust the image quality.
- Electric Focus You can also press the Focus button on the remote or go to Home > Setting ® > Picture > Manual Focusing > Focus > Manual Focus to sharpen the image focus until the blurry image becomes clear.
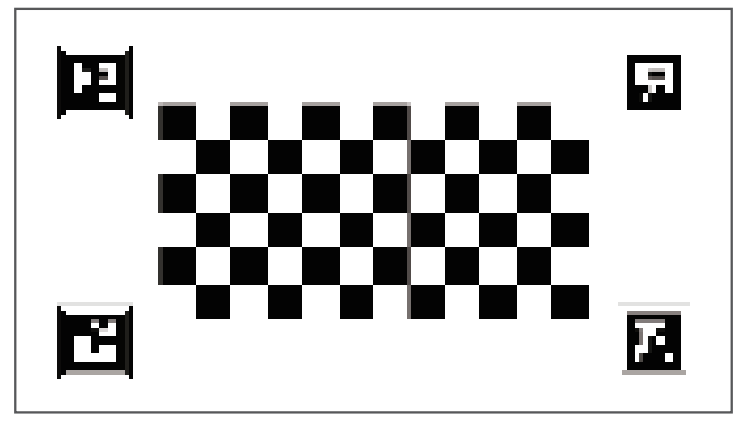
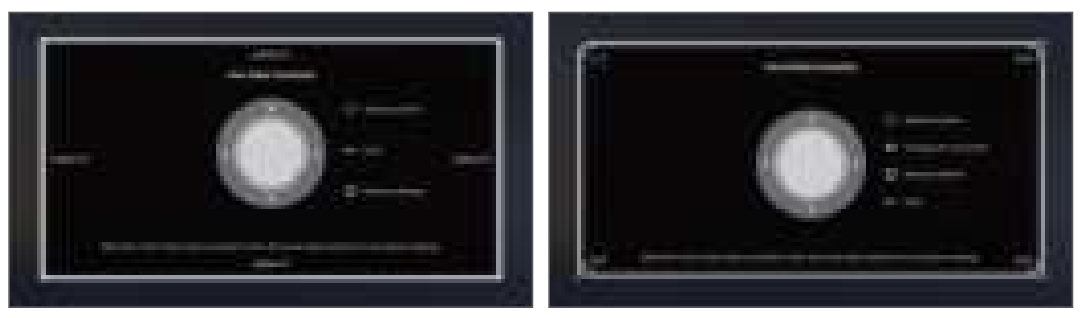
Keystone Correction
- Auto Keystone Correction:n When the projector detects shaking/rapid movement, it will automatically correct the keystone distortion. The optimal angle for automatic keystone correction is to keep it within 15°.
- Manual Keystone Correction: Onn Go to HomeSettings ® > Picture > Four Sides Correction or Four Points Correction to manually correct the image shape by four points.
Automatic Obstacle Avoidance
Go to Home > Settings> Picture > Automatic Obstacle Avoidance select “On” and when the device encounters an obstacle, the projectionautomatically avoids it.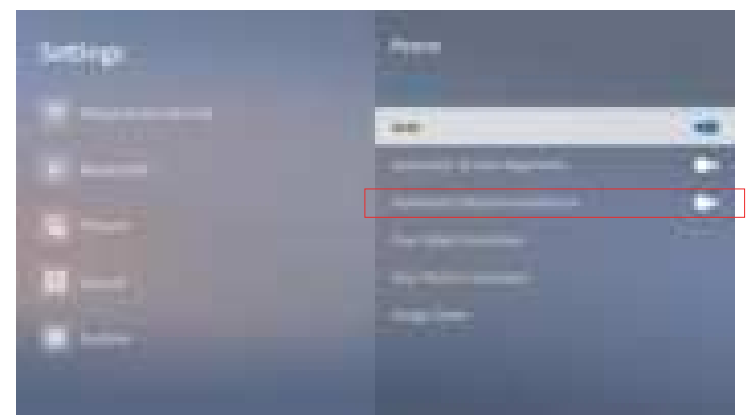
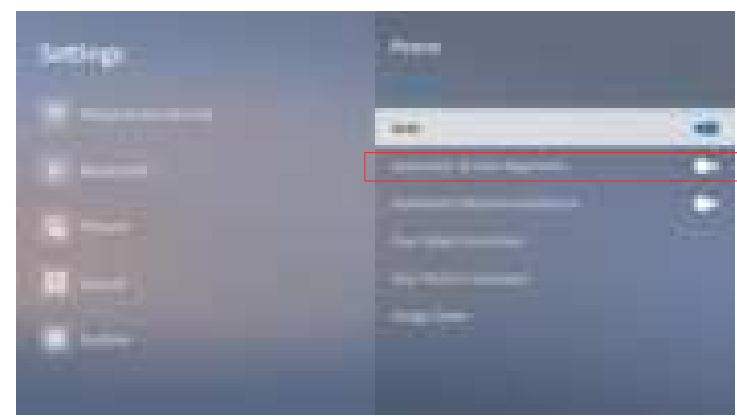
Automatic Screen Alignment
Go to Home > Settings> Picture > Automatic Screen Alignment, select “On,” and when the device projects onto a screen with black borders, the projection automatically adapts to fit accurately within the screen’s interior.
Connection
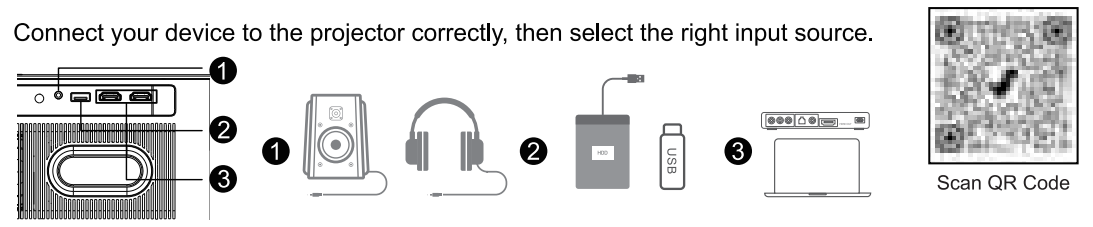
- Audio Connection: Simply connect the audio device to the projector for normal use
- USB Connection: Insert the disk. Then press the USB Shortcut Key to locate or press the “Source” button and choose “USB”.
- DMI Connection:
- Connect your HDMI cable to the projector and the computer or other device.
- Press the “Source” button and choose “HDMI”.


Wi-Fi Connection
You can connect your projector to your router’s WiFi by going to Home > Setting ® > Network & Internet > Wi-Fi.

Bluetooth External Connection
- Turn on your external Bluetooth devices.
- Go to Home ›Settings® > Bluetooth > On > Scan and choose your external Bluetooth devices.