
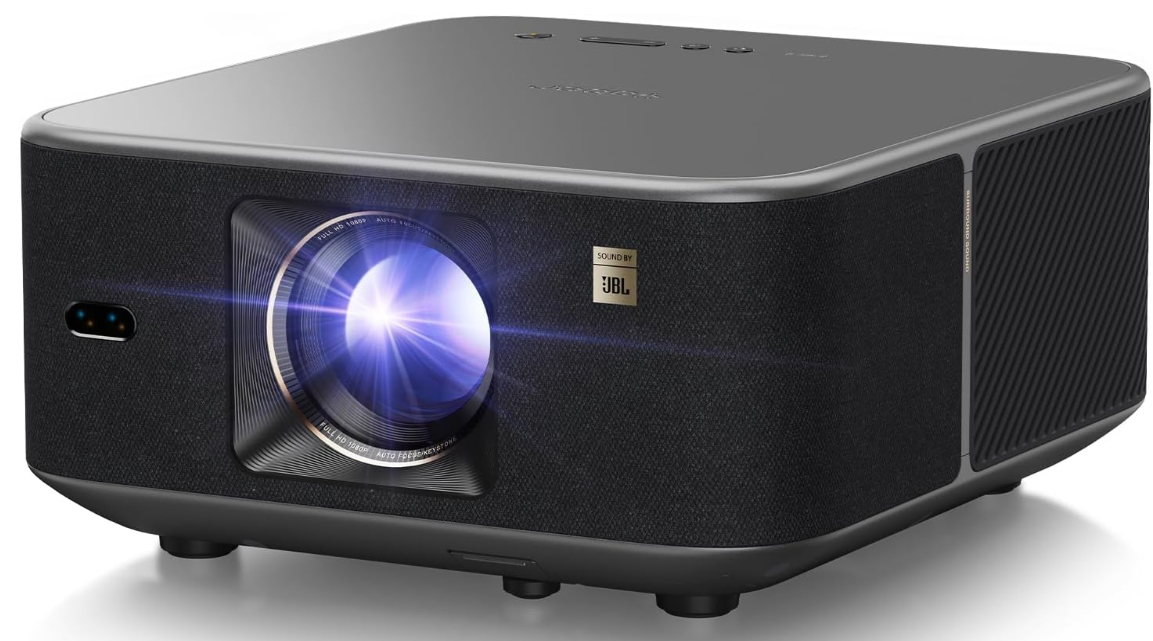
Yaber K3 Auto Screen Adaptation Smart Projector
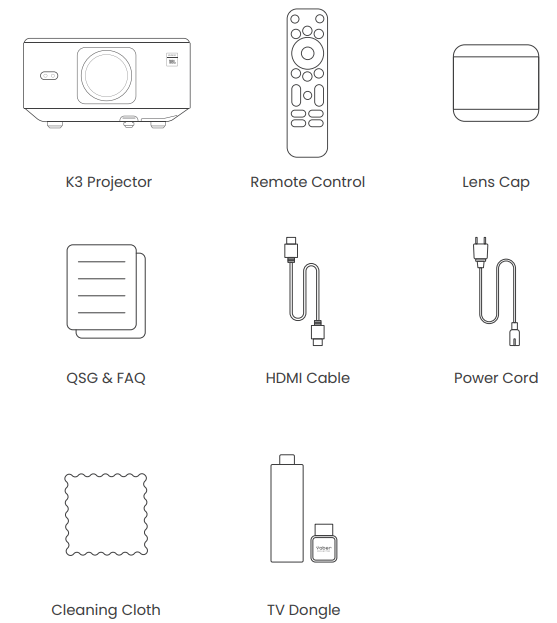
Package Contents
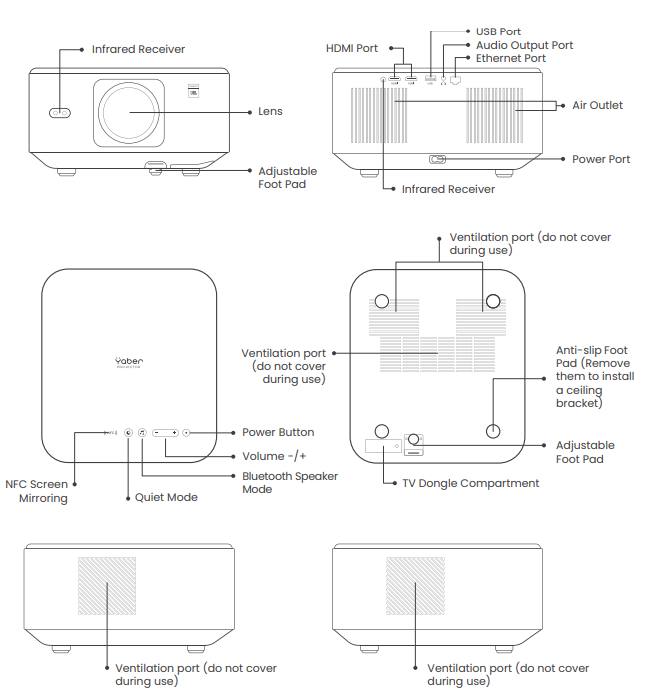
Product Overview
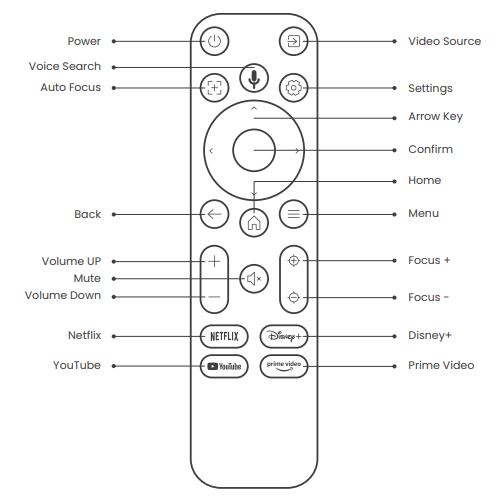
Remote Control
Basic Setup
Projection Ratio and Distance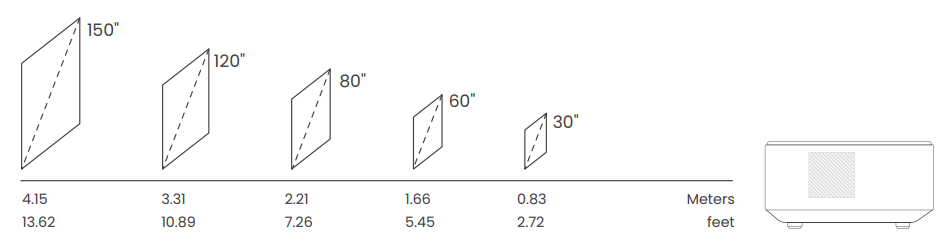
For optimal image quality, place the projector on a flat and stable surface. To adjust the vertical angle, use the adjustable foot pad at the bottom of the projector.
You can adjust the image by 50% using the [Projector Settings] – [Zoom]. If needed, press this button to release the adjustable foot pad. Further fine adjustments can be made by rotating the nut.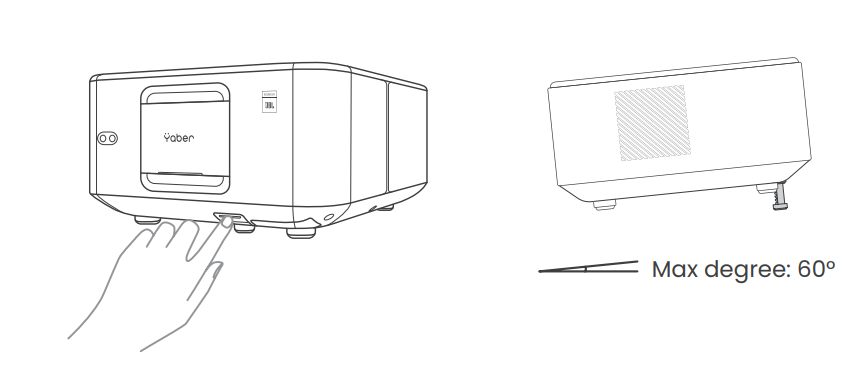
Connecting the Power Cable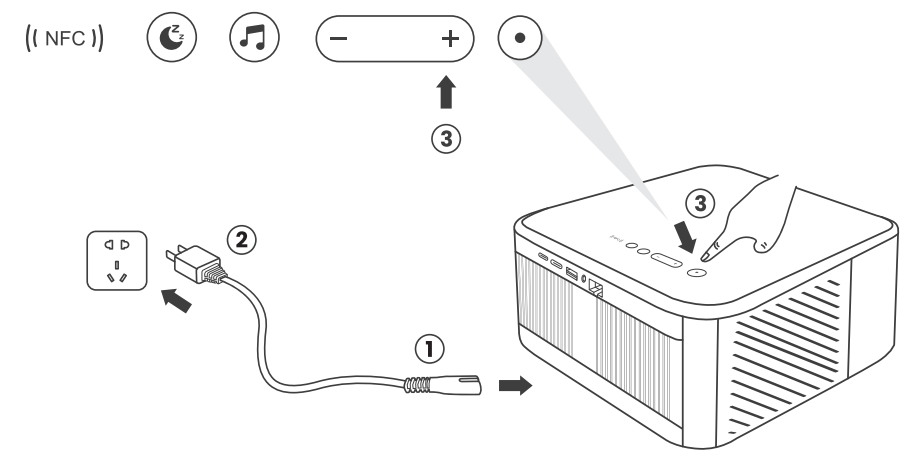
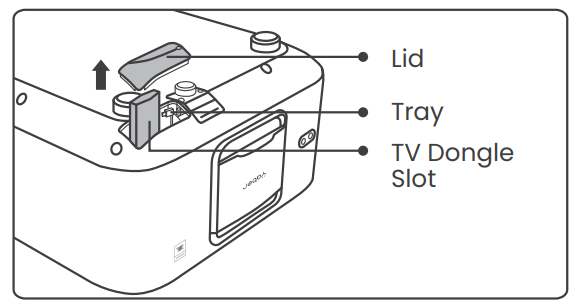
How to Use the Dongle
How to Use TV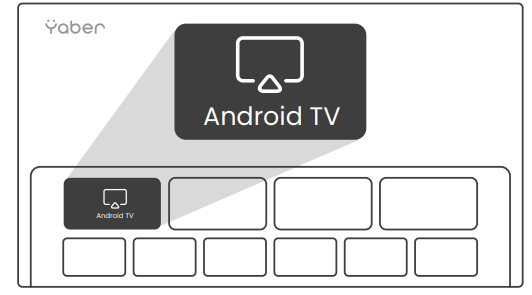
Click on Google TV to enter the system on the home page. To pair, hold down the pairing button for a longer duration.
If the remote is lost
You can use the remote control function of the Google TV App on your smartphone as a temporary solution. Contact the after-sales team to obtain a new remote control.
How to Remove the Dongle
- Use a screwdriver to remove the screws on the cover of the Dongle compartment. (Screw size: ST2.3×6mm)
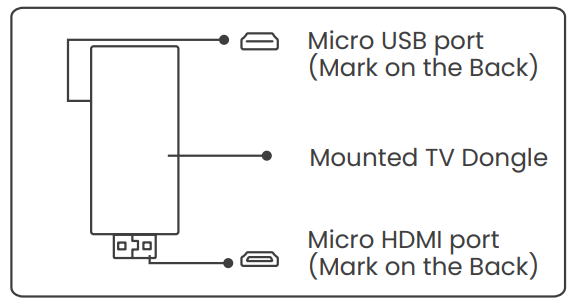
- Install the Dongle, ensuring the HDMI interface is facing downwards.
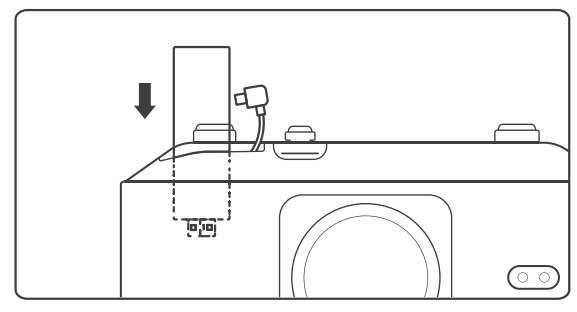
- Insert the Dongle into its compartment. (Make sure the Dongle is firmly inserted to be recognized.)
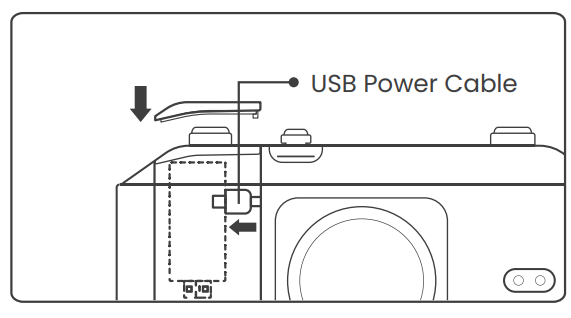
- Connect the USB power cable and restore the cover of the Dongle compartment.
Screen Settings
Auto Screen Fite and Auto Obstacle Avoidance
- If there are white or other light-colored objects on the target screen, obstacles may not be avoided.
- The backdrop should have a distinct black or other colored border, except for anti-light screens, which do not require a border.
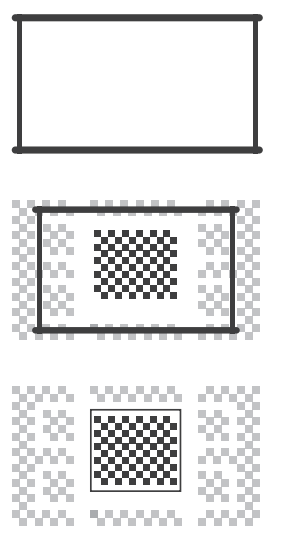
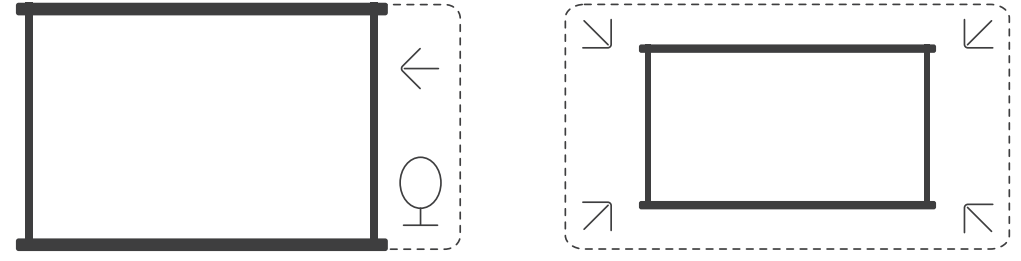 Before using the auto screen fit function:
- Please ensure the projection screen is larger than the screen area, and do not block the central area of the screen.
- Please do not block the area within the central square frame of the screen.
Auto Keystone Correction
AutKeystonene is enabled by default. If you need to disable this feature, navigate through [Home] – [Settings] – [Projection Mode] – [Auto Keystone].
Manual Keystone Correction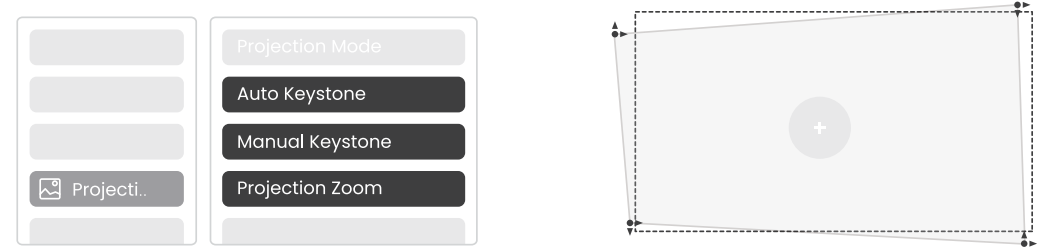
If further screen adjustments are needed, please select [Manual Keystone] in [Projection Mode] and adjust the screen by dragging the arrows.
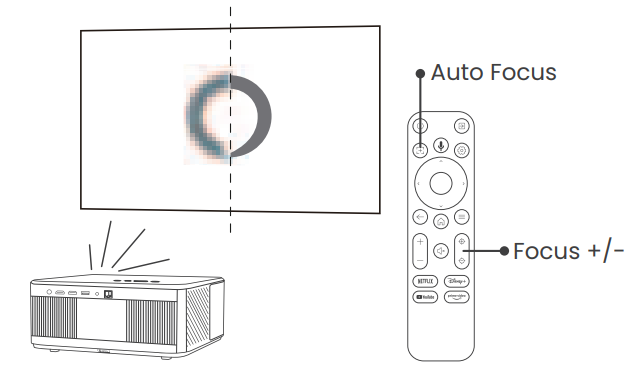
Auto Focus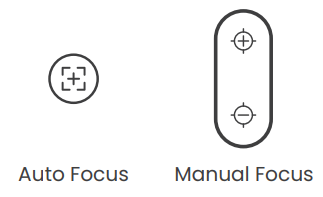
Auto-focus is enabled by default and will refocus each time the machine is moved.
Image Settings
Auto Screen Fite and Auto Obstacle Avoidance
Image Brightness Settings
Adjust the screen brightness through [Home] – [Settings] – [Image Quality] –
[Brightness Setting].
Image Color
Adjust the image color through [Home] – [Settings] – [Image Quality] -[Picture Mode]
Connection
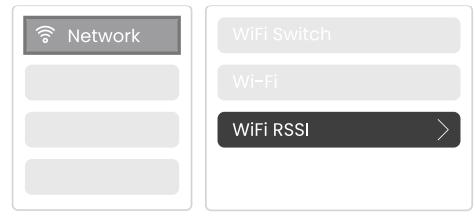
Network
- Projector connection steps: [Settings] – [Wi-Fi], connect to the desired Wi-Fi.
- Dongle connection steps: Go to [TV] on the home page, then [Settings] – [Wi-Fi] to connect to the desired Wi-Fi.
Wired Network
If the projector is connected to a wired network, and your phone is on the same local network, you can share your phone screen. See section 4.2 for screen sharing instructions.
Screen Share
- Ensure your phone and the projector are connected to the same Wi-Fi network.
- In the Yaber app, tap [Connect Device] and select the device named [Yaber_K3_xxxx] to connect.
- Once connected, select the screen mirroring option in the Yaber app to share your phone screen with the projector.
- When you wish to end the screen share, go to your phone’s control center, select the device, and stop sharing.
Tip: If you prefer not to use the Yaber APP, please follow these steps: (Only step 2 is different)
- Ensure your phone and the projector are connected to the same Wi-Fi network.
- In the screen mirroring settings on your smartphone, select the device named [Yaber_K3_xxxx] to connect.
- Ensure your phone and the projector are connected to the same Wi-Fi network.
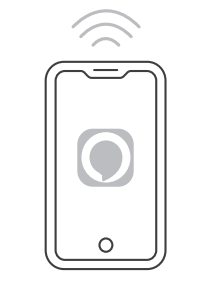
NFC
- When using NFC, ensure your phone and the projector are connected to the same Wi-Fi network.
- Use an NFC-enabled phone and lightly tap the NFC area on top of the device to use this feature.
Attention: Ensure NFC is turned on in your phone’s settings.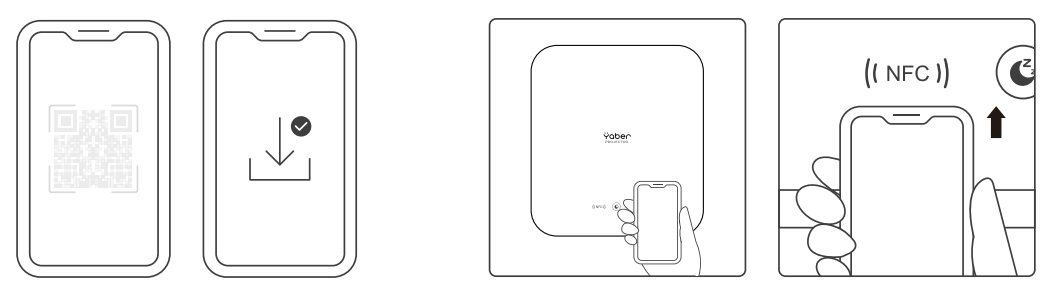
Bluetooth (Connection Steps)
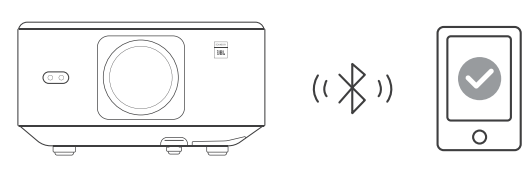
Connecting External Devices to the Projector (Using the Projector as a Bluetooth Speaker) Find the projector named [Yaber_K3_xxxx] in the Bluetooth list of your external device and connect. Connecting the Projector to External Speakers/Headphones: Navigate through [Home] – [Settings] – [Bluetooth] on the projector, find your device, and connect.
Other Connections
HDMI Compatibility: HDMI 1.4 (HDMI CEC/HDMI ARC supported ). After connecting an external device via HDMI, select [HDMI 1] or [HDMI 2] from the home page to switch to the corresponding input source.
Alexa
Using Steps:
- Connect the projector to WiFi, activate Alexa on the projector’s home screen, and log in to your Amazon account.
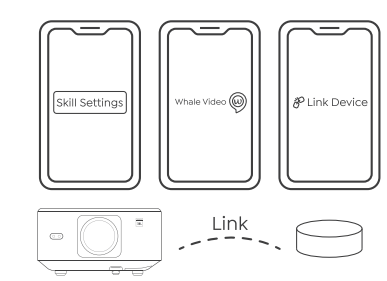
- Open the Alexa app on your phone and log in to your Amazon account. Go to [Go to More] – [Skills & Game and search for Skills], find and enable [Whale video]
- In [Whale Screen Settings] – [Advanced Settings], pair the projector with a smart speaker (with built-in Alexa).
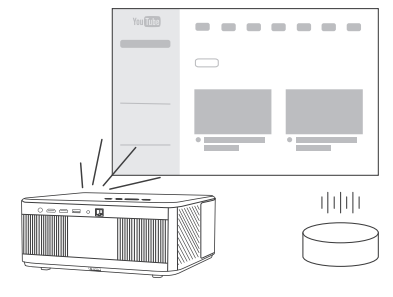
- Now try saying, “Alexa, open YouTube on the projector”. For detailed voice commands for Alexa, scan the QR code to view the electronic manual.
Quiet Mode
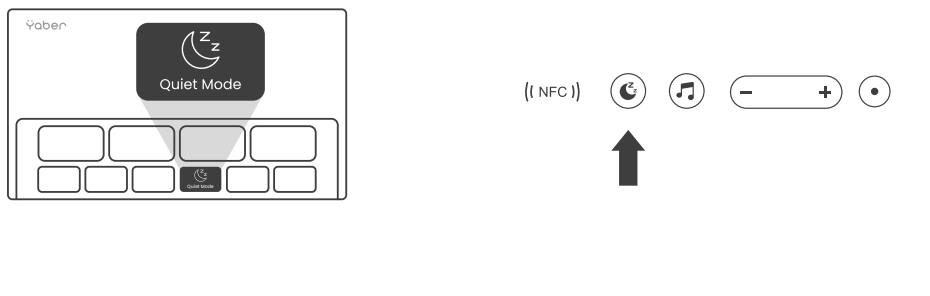
The quiet mode will provide a quieter environment by reducing the projector’s brightness and fan speed. You can activate it through [Quiet Mode] on the home page, the button on the projector body, or on the shutdown page.
Attention Precautions
Please use the device correctly:
- Do not block the air inlets/outlets to avoid damage to internal electronics due to improper cooling.
- Do not point the lens directly at your eyes, as the strong light from the projector may hurt your eyes.
- Do not clean the lens directly with paper, cloth, or other cleaning tools to avoid lens damage.
- Keep the device and its components and accessories out of reach of children.
- Do not place the device in any heating equipment (such as dryers and microwaves) to dry.
- Do not forcefully squeeze the device or place obstacles on top of or behind it to avoid damage.
- Do not throw, hit, or shake the device violently to avoid damaging internal circuit boards.
- Do not attempt to disassemble and reassemble the device yourself. If any issues arise, contact Yaber after-sales service.e
YABER Lifetime Professional Support
Dear valued customer!
Thank you for choosing the Yaber projector. This manual will help you navigate through all the features. We understand that there may be many questions and concerns that arise during the use of the projector. We are also eager to hear your feedback. However, leaving a review on the product page does not get the fastest solution.
Rest assured, our service team will offer the solution to youwithinh 24 hours. Your satisfaction is our top priority. If you encounter any issues, we sincerely hope you will allow us to make things right. We also encourage you to thoroughly explore the contents of this manual first. We wish you an outstanding experience with the projector. Yaber Consumer Service Team
FCC Warning
This device complies with Part 15 of the FCC Rules. Operation is subject to the following two conditions: This device may not cause harmful interference, and (2) this device must accept any interference
received, including interference that may cause undesired operation.
- Reorient or relocate the receiving antenna.
- Increase the separation between the equipment and receiver.
- Consult the dealer or an experienced radio/TV technician for help.
IC Warning
This device complies with Industry Canada’s license-exempt RSSs. The operation is subject to the following two conditions: This device may not cause interference, and this device must accept any interference, including interference that may cause undesired operation of the device.”
Customer Service
- Website: https://www.yaber.com/
- Timings: 9:00 am to 7:00