


![]()
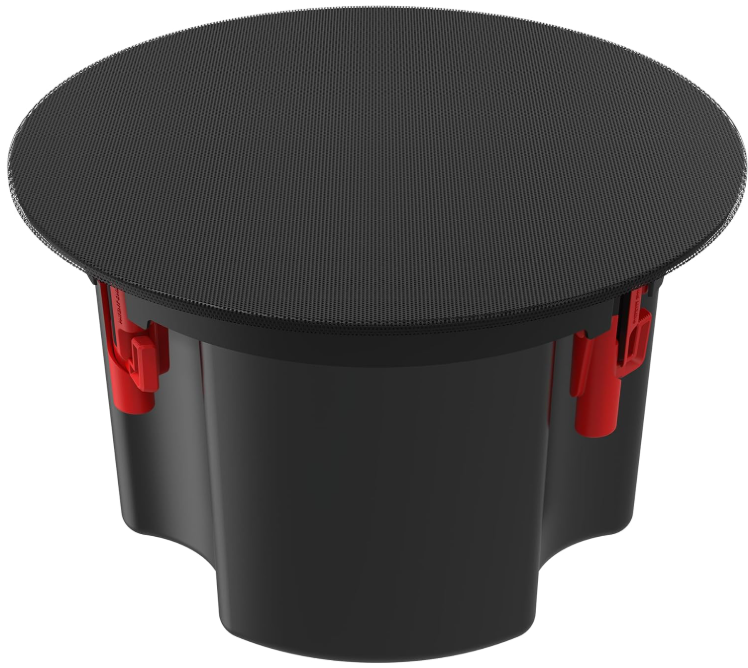
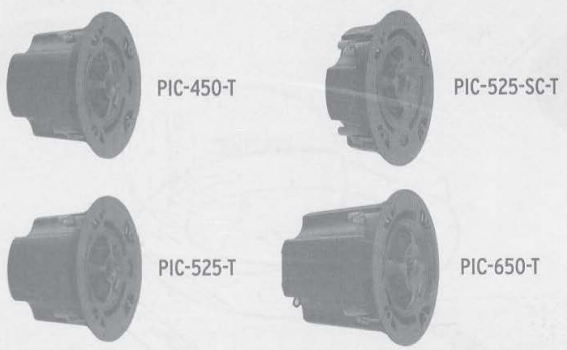
Klipsch PIC-450-T In-Ceiling Loud Speakers
Package Content
- X2 Speaker Modules
- X2 Black Round Grilles
- x2 White Round Grilles
- x2 Tilebridge Reinforcement Rings
- x4 Rails
- x2 Cardboard Cutout Template
- x8 Screws (Attach Rails to Reinforcement Ring)
- x2 3/4″ Conduit fittings

- xl Speaker Module X2 Rails
- xl Black Round Grille xl Cardboard Cutout Template
- xl White Round Grille x 4 Screws (Attach Rails to Reinforcement Ring)
- xl Tilebridge Reinforcement Ring xl 3/4″ Conduit fitting
Installation
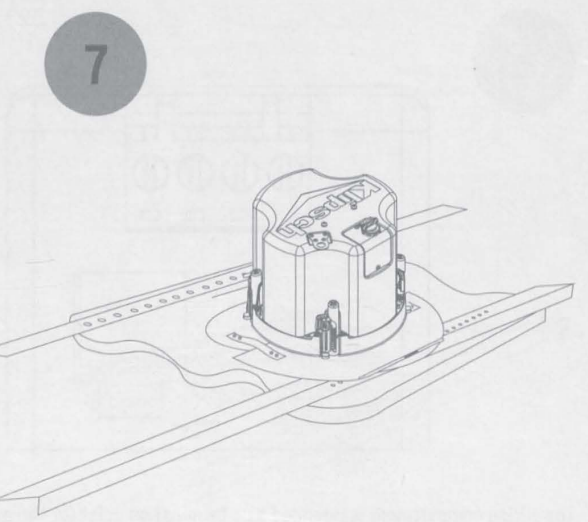
- The bridge is composed of three parts: a reinforcement ring and two rails.

- To install your sp, easpearspeaker, cut a hole in the ceiling using either the cardboard cutout template provided with your speakers or consult the measurements shown. The wiring through the ugh hole.


- To install the tilebridge, fold the rail side of the ring back upon itself using the spring tensioner on the reinforcement ring to allow insertion into the cutout hole.

- The wiring compartment is intended as a termination point for the audio circuit.

- If your conduit/wire feeds easily into the bottom of the cover.

- Insert the speaker into the cutout hole.

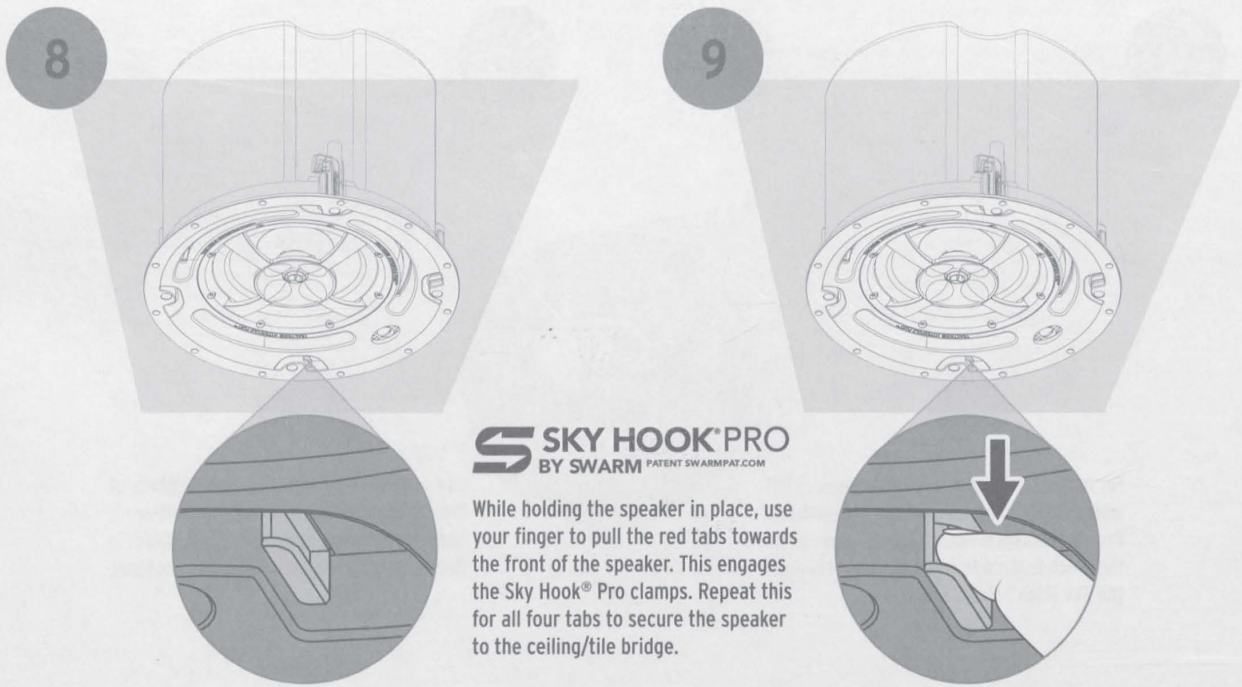
- While holding the speaker in place, use your finger to pull the red tabs towards the front of the speaker.

- For uneven ceilings or installations where the holding force of the SkyHook Pro mechanism is not sufficient, use the cinch feature to manually tighten the SkyHook Pro clamps.

- Repeat this step for each clamp.

- Uninstall all the speakers, usea Phillipsps screwdriver inserted into the center of the Sky Hook® Pro clamp, and turn counter-clockwise to loosen the clamp.

- Continue to turn the screwdriver counter-clockwise while also pushing up to reset the Sky Hook® Pro clamp. Repeat this for each clamp.

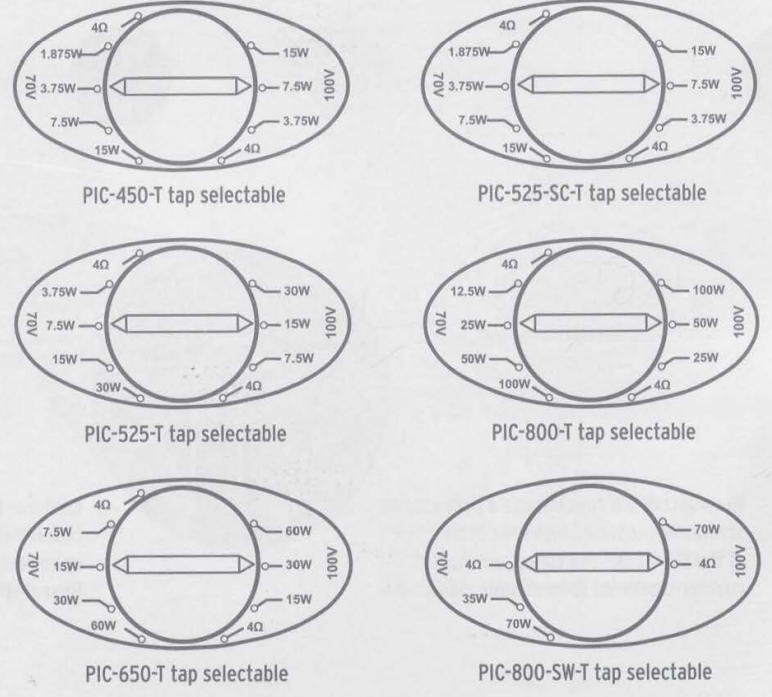
- For installations using 7OV/1OOV input connection, set the switch on the front panel to the desired setting.

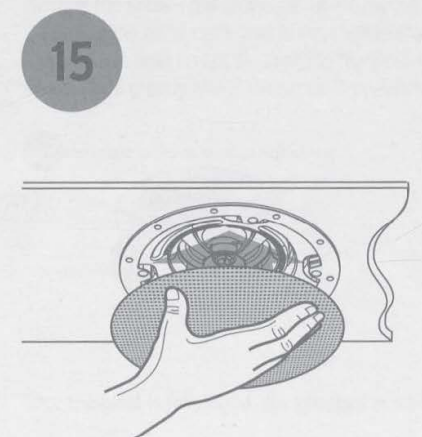
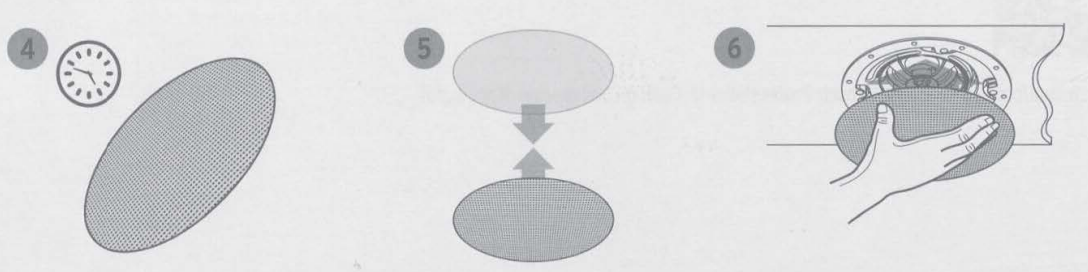
- Using the flat of your hand, attach the magnetic grille beneath the speaker frame, making sure it is centered and flush.

- Included with the grille is a tether that can be threaded through the grille and attached to the speaker.
 Seimic Tab
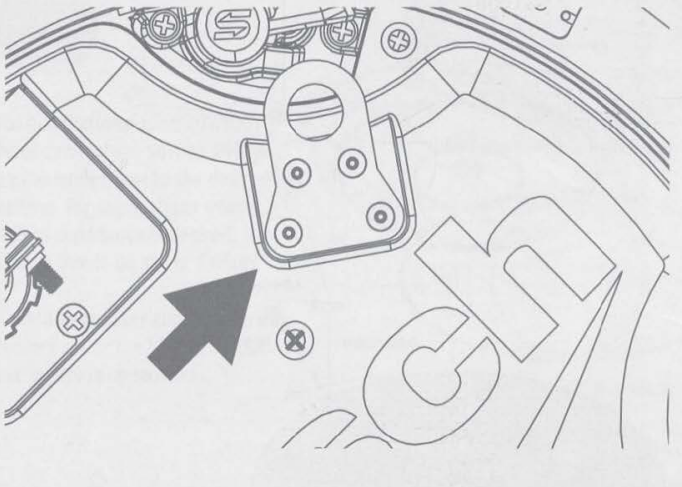
Some construction codes may require its use. To utilize the seismic tab, run a support wire from a secure point in the ceiling and attach it to the tab. Be sure to consult the construction codes in your area. Klipsch recommends the use of this tab in all installations as a secondary means of support.
Grille Painting
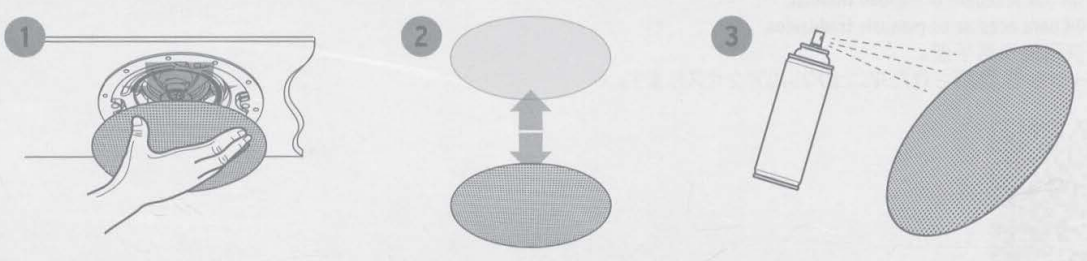
- Painting the Grille – the grilles for all PIC models can be painted to match any decor.
- When painting the grille, it is highly recommended that you use a spray paint with multiple light layers.

- Once the paint is fully dried, you can then place the grille cloth back onto the back of the grille and place the grille onto the speaker.
Translations
- Scan the OR code to access translated manuals.

Customer Service
- Website: Klipsch.com
- Ph: 1-800-554-7724
3 Comments
Your point of view caught my eye and was very interesting. Thanks. I have a question for you. https://accounts.binance.info/cs/register-person?ref=OMM3XK51
Thanks for sharing. I read many of your blog posts, cool, your blog is very good.
Can you be more specific about the content of your article? After reading it, I still have some doubts. Hope you can help me. https://www.binance.bh/register?ref=JW3W4Y3A