
Honeywell RDWL311A2000 Portable Wireless Doorbell
Safety Instructions
- Install batteries.
- Set up the doorbell and your preferences.
- Install the doorbell and the push button.
- Always follow the manufacturer’s advice when using power tools and wear suitable protective equipment (e.g., safety goggles) when drilling holes, etc.
- Before drilling holes in walls, check for hidden electricity cables and water pipes. The use of a cable/pipe locator is advisable if in doubt.
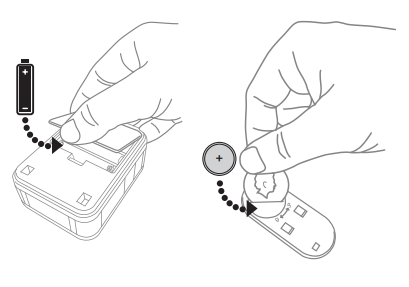
Install Batteries
- Open the battery cover and install 4 AA alkaline batteries.
- Open the battery cover and install the CR2032 battery.

Setup and Operation
- Press the push button to test whether it is paired with the doorbell. The doorbell will ring. If it does not, see “Connect a Push Button.”
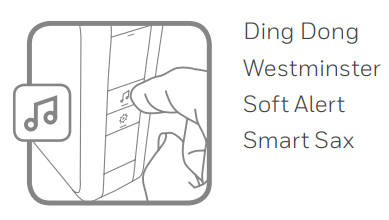
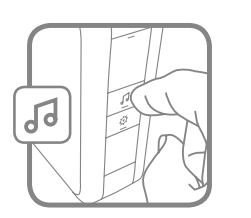
Change the Tune
- Press the Music button to change the doorbell tune. Every time you press the Music button, the tune will change. Stop pressing the Music button when you hear the tune you want:
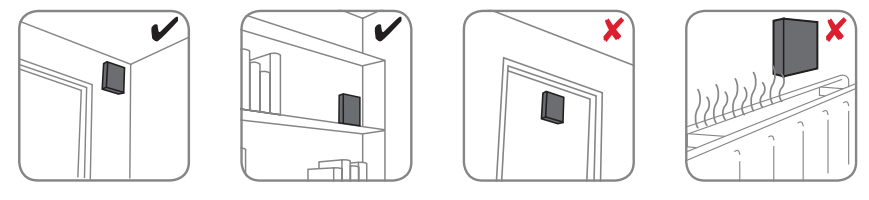
Installation
- Choose a location that is not near a heat source or on something that moves (like a door). For non-mounting locations, choose a place where the doorbell will be easy to hear.
Install Doorbell
- Mount the screw onto the wall using the supplied anchor if necessary. Leave 2 mm of the screw sticking out from the wall. Drill 1/4 inch (6.3 mm) holes for the anchor.
- Hang the doorbell on the screw

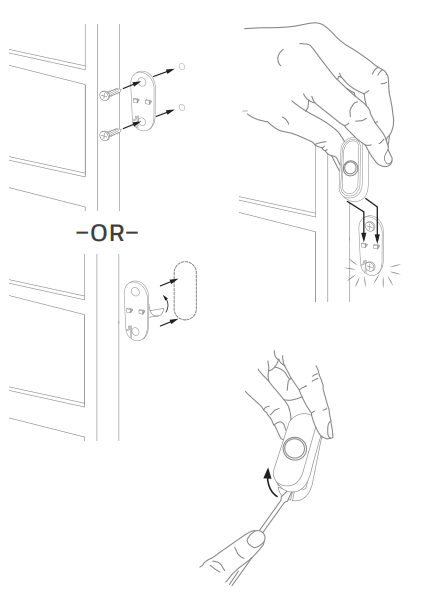
Install Push Button
- Mount the push button bracket in the desired location. Use the screws –OR– Use the adhesive backing. If using the adhesive backing, clean the surface first.
- Snap the push button onto the mounting bracket.
Accessories
- You can connect 2 accessories to your doorbell, including other push buttons, window or door opening sensors, and motion sensors.
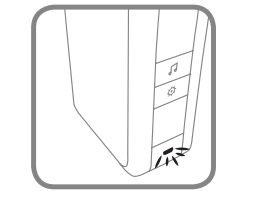
- If you try Honeywell RDWL311A2000 Portable Wireless Doorbell to connect more accessories than the maximum number, the LED on the side blinks red.
Connect a Motion Sensor
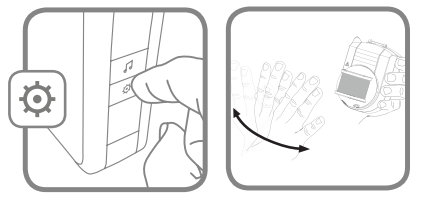
- Press and hold the Setting button on the doorbell for three seconds. The LED on the side turns on with an amber color.
- Within 20 seconds of pressing the Setting button, wave or make some other kind of motion in front of the motion sensor.
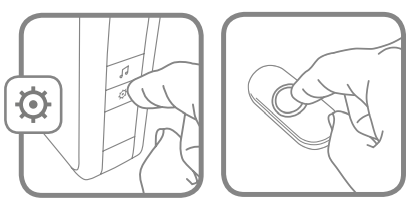
Connect a Push Button
- Press and hold the Setting button on the doorbell for three seconds. The LED on the side turns on with an amber color.
- Press the push button.
- Within 12 seconds of pressing the push button, press the Music button to select the ring for that push button.
Secret Knock
You can set up a Secret Knock that makes a different ring for each push button. The Secret Knock is triggered by pressing the push button quickly 3 times.
- Press the push button 3 times quickly.
- Within 12 seconds of pressing the push button, press the Music button to select the ring for the Secret Knock.
Maintenance
Your doorbell and push button require no maintenance except to periodically change the batteries. If using the correct batteries, battery life should be approximately:
- Up to 2 years for the doorbell; replace with 4 AA alkaline batteries
- Up to 2 years for the push button; replace with a CR2032 lithium battery
Low Battery Notification
When the doorbell batteries are low, the LED on the side turns on. When the push button batteries are low, two beeps are heard after the normal tune.
Reset
This process removes all pairings, including the push button that came with this doorbell:
- Remove the doorbell battery.
- Press and hold the Setting button, and replace the battery at the same time.
- The doorbell will beep several times rapidly, and it will be returned to its factory default settings.
Specifications

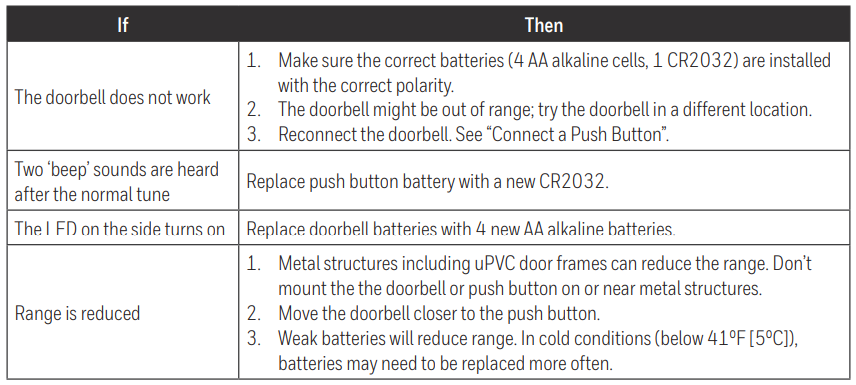
Troubleshooting
FCC Regulations
This equipment has been tested and found to comply with the limits for a Class B digital device, pursuant to part 15 of the FCC Rules. These limits are Honeywell RCHC4400WF1004 C2 Wi-Fi Security Camera, designed to provide reasonable protection against harmful interference in a residential installation.
However, there is no guarantee that interference will not occur in a particular installation. If this equipment does cause harmful interference to radio or television reception, which can be determined by turning the equipment off and on, the user is encouraged to try to correct the interference by one or more of the following measures.
- Reorient or relocate the receiving antenna.
- Increase the separation between the equipment and receiver.
- Connect the equipment to an outlet on a circuit different from that to which the receiver is connected.
- Consult the dealer or an experienced radio/TV technician for help.
For products available in the USA/Canada market, only channels 1–11 can be operated. Selection of other channels is not possible. This device is restricted to indoor use.
IC Regulations
This device contains license-exempt transmitter(s)/receiver(s) that comply with Innovation, Science and Economic Development Canada’s license-exempt RSS(s). Operation is subject to the following two conditions:
- This device may not cause interference.
- This device must accept any interference, including interference that may cause undesired operation of the device.
This device is restricted to indoor use.
Customer Service
- Web: resideo.com
- Phone: 1-800-633-3991
FAQs
Q: How does the wireless doorbell system work?
Ans: When someone hits the doorbell, the portable receiver receives a wireless signal from the push button and chimes to let you know. You can put the receiver anywhere that is within range or carry it around.
Q: What is the effective wireless range?
Ans: In open areas, the doorbell system’s wireless range can reach up to 450 feet (137 meters). Obstacles like walls can shorten this distance.
Q: Does the portable receiver require batteries or charging?
Ans: The portable receiver runs on a battery. Battery life varies with usage, and it requires ordinary batteries (for the exact type, consult the user manual).
Q: What type of batteries does the transmitter (push button) use?
Ans: A long-lasting battery powers the push button, usually a coin-cell battery like the CR2032. The user handbook contains instructions on how to change the battery.
Q: Can I use multiple push buttons with one receiver?
Ans: Indeed. You can cover different entries because the receiver can pair with several transmitters.
Q: How do I change the chime sound or volume?
Ans: The receiver has several chime tones and a volume control. To choose the tone and level you want, use the receiver’s controls.
Q: Can the receiver be used both plugged in and portable?
Ans: Although the receiver is generally intended to be a portable device that runs on batteries, depending on the model, it may also be able to be powered by a plug; please refer to the user manual.
Q: Is the push button weather-resistant?
Ans: Indeed. Although the push button is weather-resistant, do not expose it to severe weather or submerge it in water.