
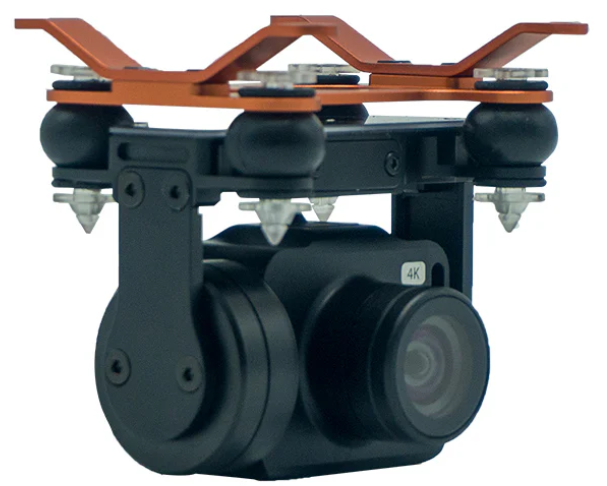
SwellPro GC1-S Waterproof 1-Axis 4K Camera
 Safety instructions
- The GC1-S is a piece of precision electronics with corrosion-resistant materials that allow for use in
harsh marine environments. - As with any marine equipment, trouble-free and lasting operations depend on proper attention and maintenance of the equipment.
- Dropping or crashing directly into the water from above will result in significant damage to the drone and the gimbal camera.
- When taking off or landing, slowly proceed to avoid damage to the gimbal camera, which can be caused by the huge impact when contacting the surface at high speeds.
- If seawater or other sediments form on the gimbal camera, soak thoroughly with fresh water and clean all sediments on the camera and motor before use.
Installation
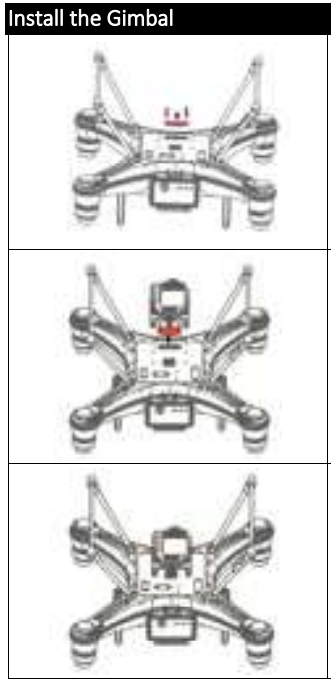
- Unscrew and take off the gimbal port cover plate using a hex screwdriver. (equipped with SplashDrone
- Plug the gimbal connector into the drone’s gimbal port and screw it in place with a screwdriver.
- Align the holes on the base of the gimbal to the bottom of the drone, and screw in to mount the gimbal. Make sure the camera is pointing to the front of the drone.
Install SD Card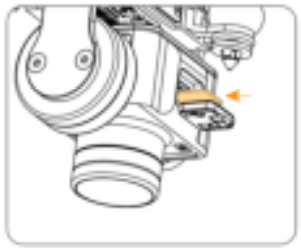
- Open the soft rubber seal on the top of the camera, insert the Micro SD card in the correct direction, and press the Micro SD card. The “click” sound indicates that the installation is in place.
- After installing the Micro SD card, plug the rubber seal back.
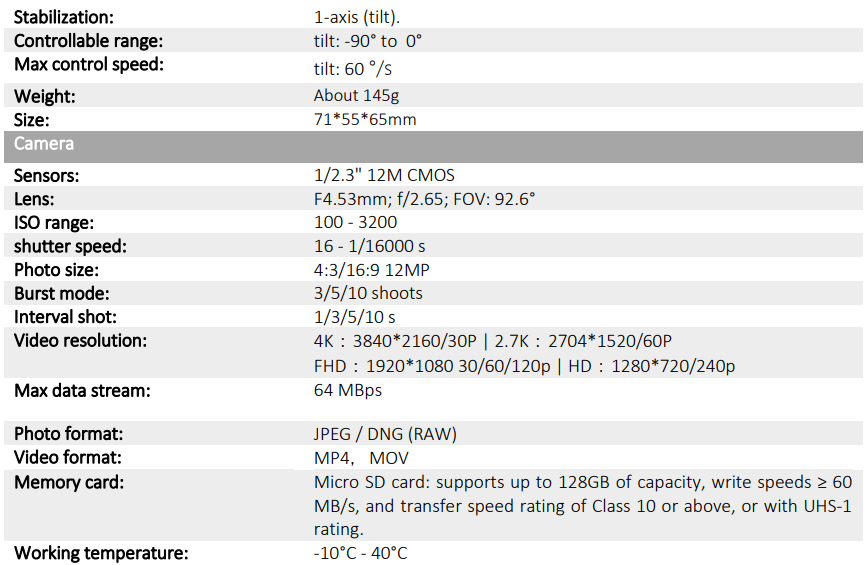
- The GC1-S supports Micro SD cards with a maximum capacity of 128GB. Since the camera requires fast reading and writing of high-stream video data, please use Micro SD cards with Class 10 or UHS-1 or above to ensure proper functioning.
- Do not insert or unplug the Micro SD card during aircraft shooting, as data files may be damaged or lost.
- Once you are done recording, stop recording and save the file. If you turn off the power directly before saving the files, the recording file will be lost.

Remove the double-sided pad from the gimbal box and paste the pad into the drone’s case as shown to the left. After cleaning and drying the gimbal camera and the aircraft, secure the gimbal camera with the fixing case, then put the aircraft and other parts into the case. The case is secure and ready to be carried or transported.
Romte Control
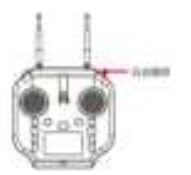
- Tilt: Toggle the right gimbal control as shown to turn the gimbal up or down from 0 to -90 degrees.
Camera control
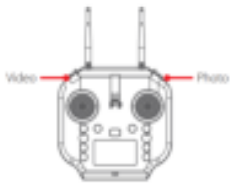
- Video: press once to start recording, press again to stop recording,
and save files. - Press once to take a picture.
APP Interface
To get into the APP’s camera interface: Power on the remote controller, then the aircraft. Connect the phone to the remote controller’s Wi-Fi hotspot. Then click “Login device”.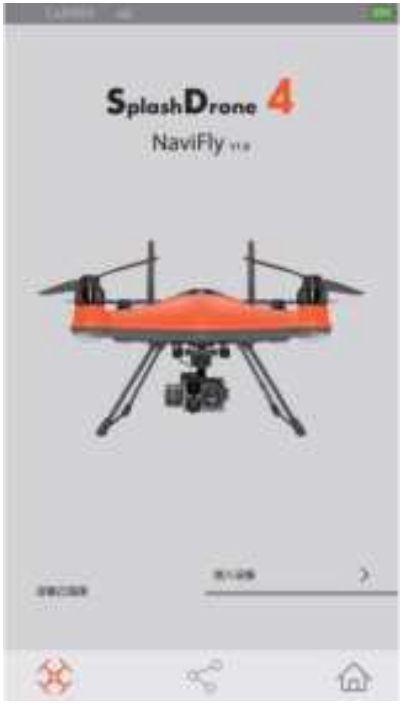
Login device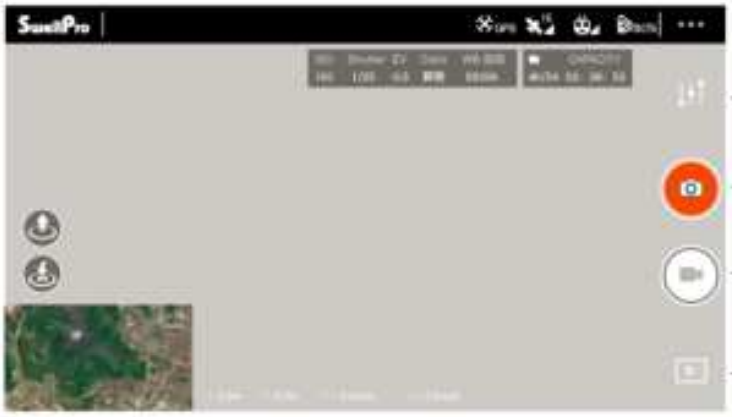
Camera Interface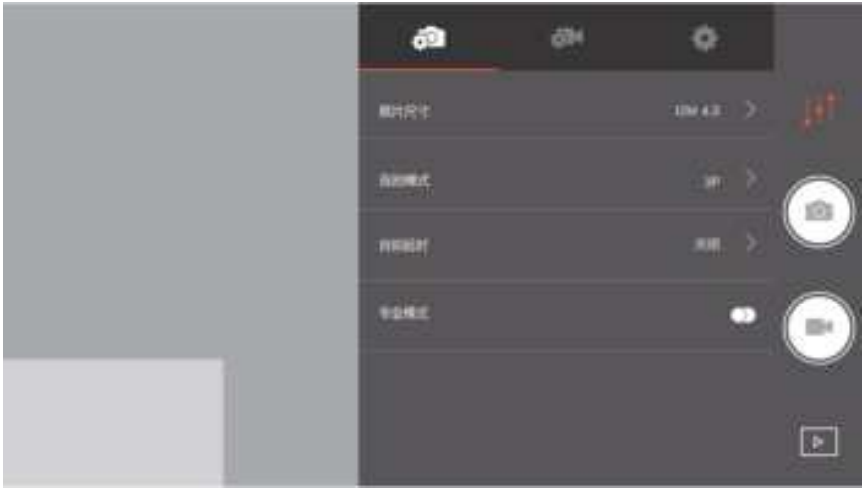
Photo Setting Interface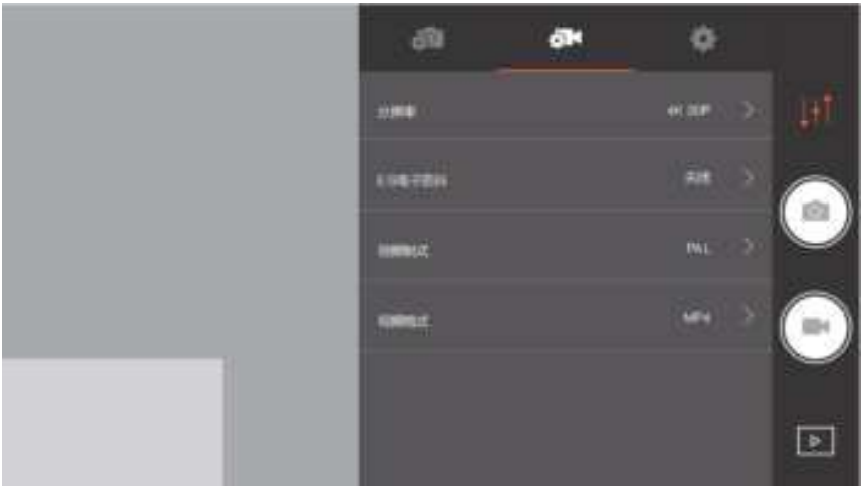
Video Setting Interface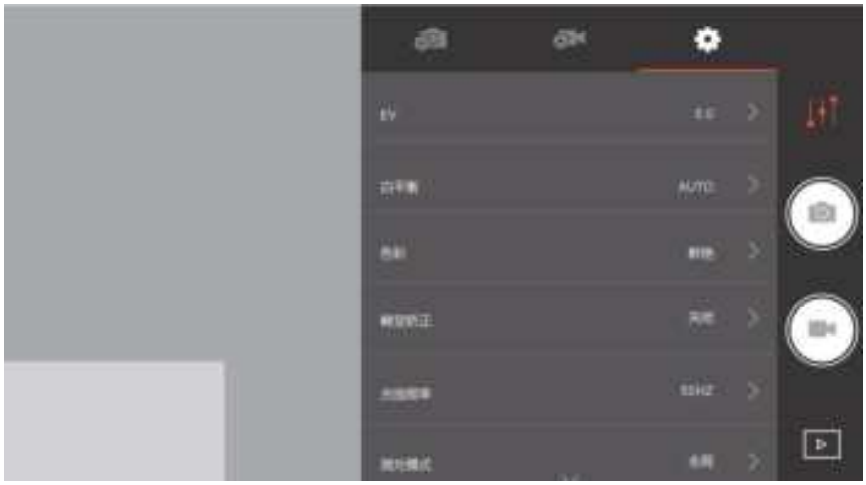 Camera Setting Interface
Specification
Csumtore Support
- Website:https://store.swellpro.com/